Maze Inventor
|
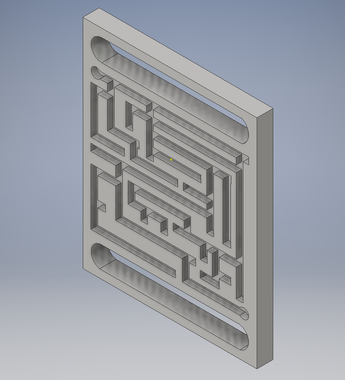
We were tasked to create a maze on the router out of pink colored foam. I wanted to create a maze that was a rectangle and had 2 handles on each side to hold on to. After designing it on Inventor we had to get it ready for the router on Fusion 360.
|
|
I first had to create the maze on inventor by putting dimensions and extruding the outsides and the handles of the maze. Then I put it the main path from the start of the maze to the end. After I did that, it was time to add the extra pathways of the maze.
In the slideshow above, it shows the dimensions of the pathways and the handles. It doesn't show the dimensions of every pathway because it would be too many pictures. But all pathways are the same time. Once I was finished it was time to take it to Fusion 360.
Maze Fusion 360
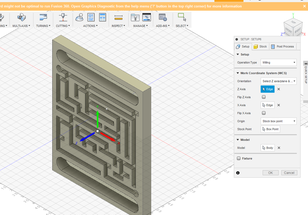
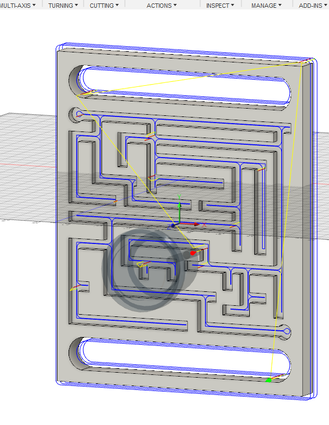
In fusion 360 I had to set up the maze to be ready to cut it out on the Router. First, I had to set up the orientation for the Router to cut it out in. Then, I selected the center of the maze for the Router to start at.
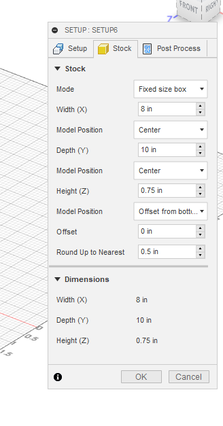
Next I had To set up the stock for the maze. I had to change the thickness of the foam to .75 inches and leave room on each sides of the maze for the stock. Then, I made the offset from the bottom 0. |
|
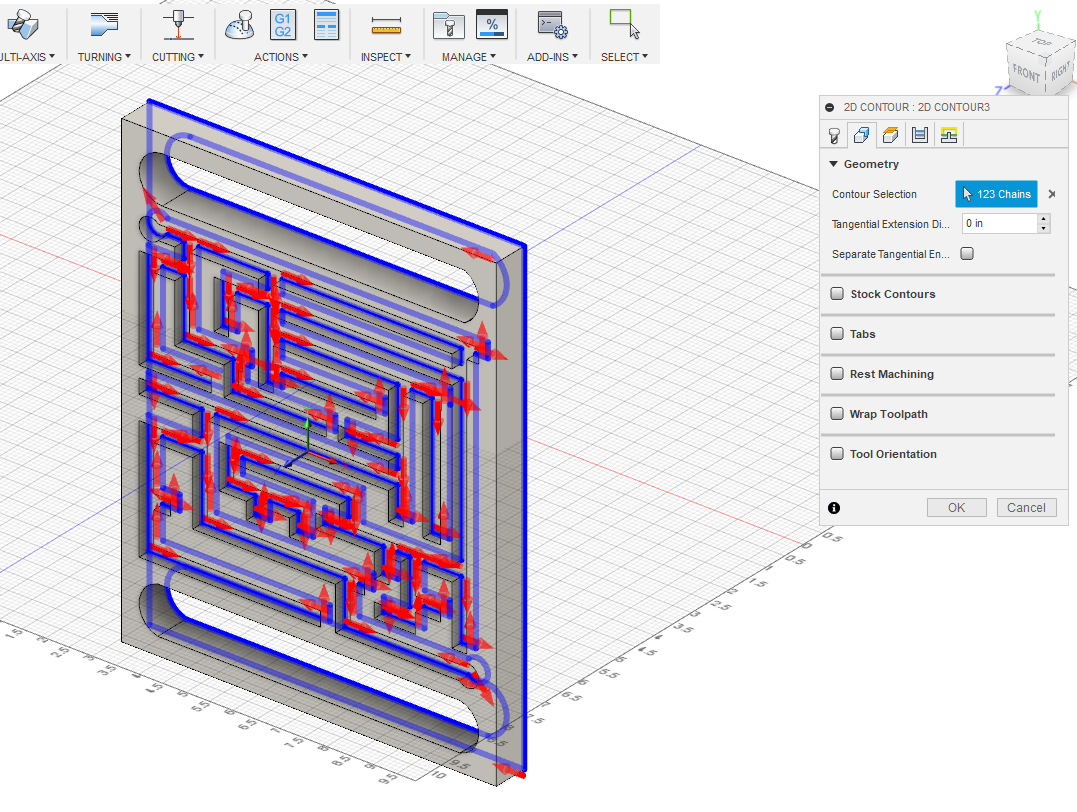
Next, It was time to select the bottom of every edge that the Router had to cut out. It took a long time because I had to select every bottom edge of every pathway of the maze.
|
|
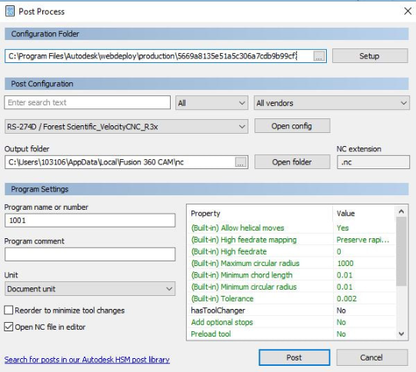
After that I had to get it to G Code. And select Forest Scientific. This is because the Router reads a different language called G Code. After I saved it to my flash drive I was ready to go down to the Router to print.
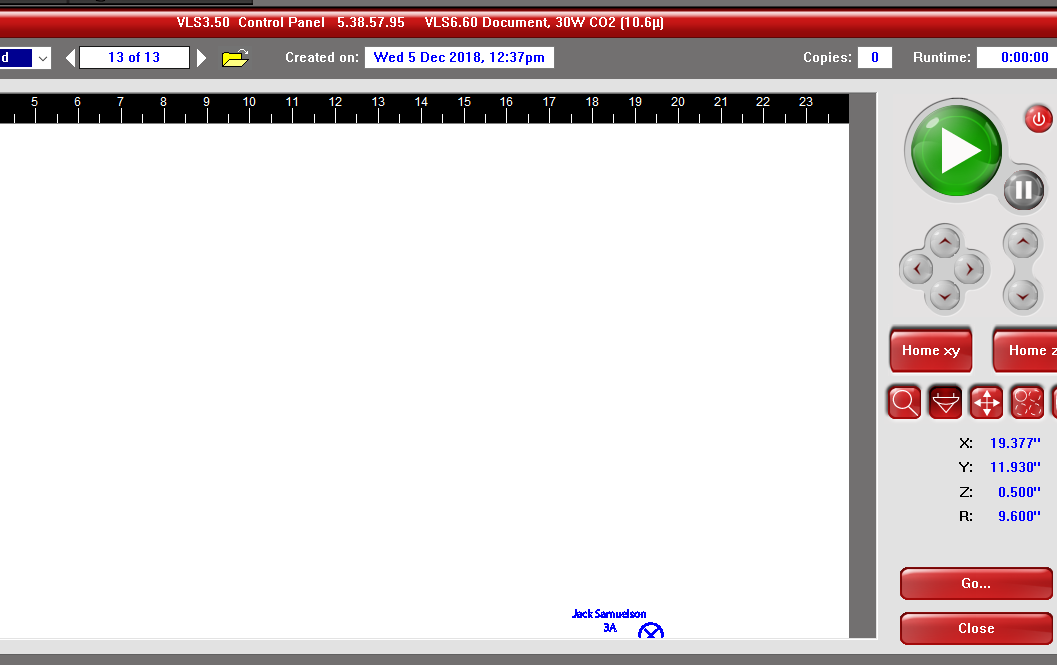
Maze Router

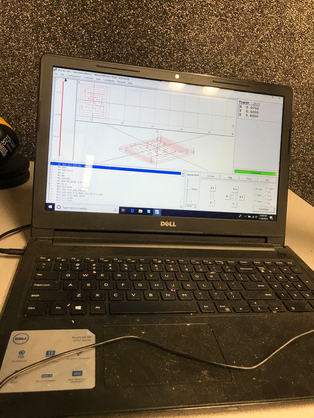
First, at the router I had to take a block of foam and find the center point for the router to start at. Then I used double sided tape to tape it to the router. I than used pulled up my maze file and put the router bit on the center of the foam block. Next I set the X and Y to zero. After that I used the sensor tool to put the Z into place. Then I started the router and kept my finger on the space bar in case of an emergency stop.

|
|
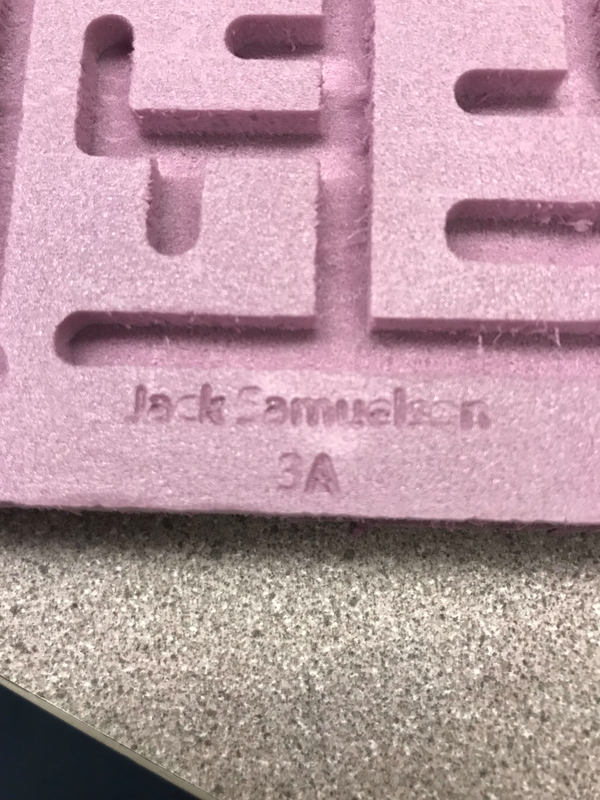
Maze Laser Engrave
We also had to put our first and last name on the front of our maze. To do this we had to use the laser printer. I set it up in illustrator at the correct size and set the line to .0001 stroke and a pure RGB Blue color so it wouldn't melt the material. Then I went down to the laser printer and set the power to 14% and the speed to 100%. Then I positioned the project to the correct spot on the maze and hit print.
|
|
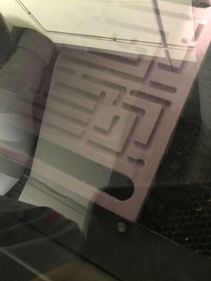
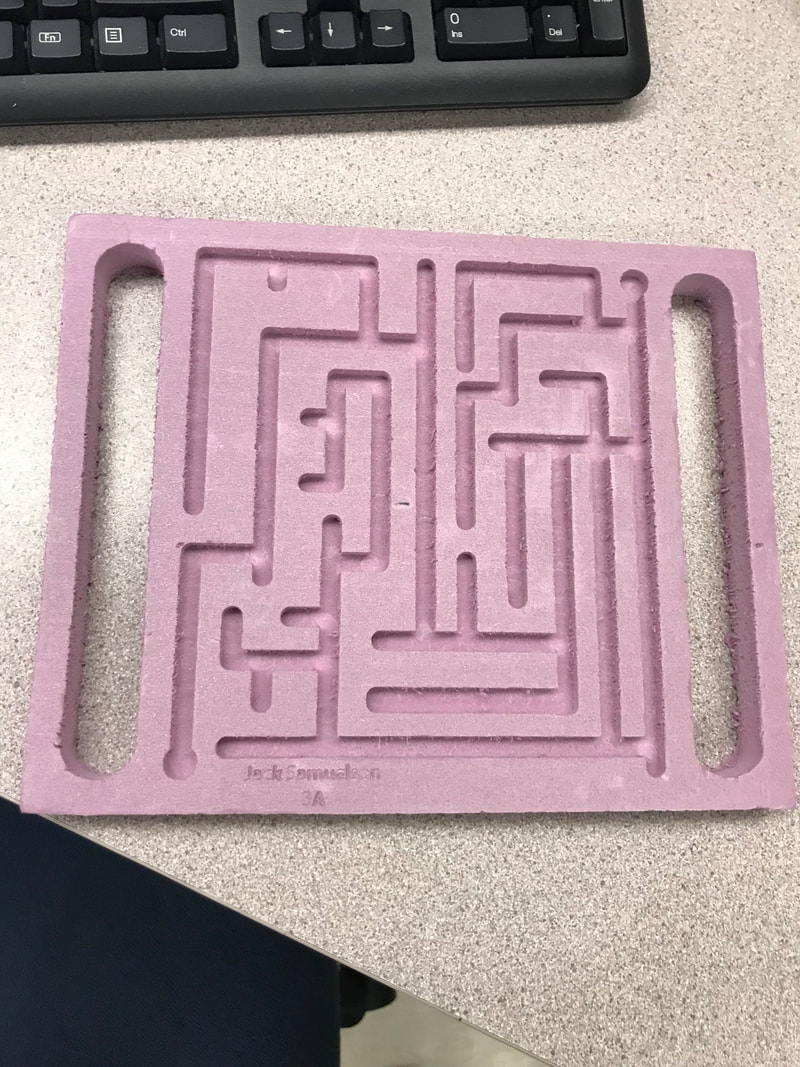
Final Maze
|
|
Summary
In this project we got to interact with inventor and Illustrator which we have used for other projects but I also got to learn Fusion 360. This was a program that we used to get the inventor file ready for the router. It was a new experience for me and I now understand that program much more. It was difficult to understand at first but I eventually caught on.
This project had much more steps and things to remember and accomplish. All the other projects were one to two steps. This one had a lot of problem solving and unknowns that I had to figure out.
This project had much more steps and things to remember and accomplish. All the other projects were one to two steps. This one had a lot of problem solving and unknowns that I had to figure out.
