3D iPhone Holder
For this project I created a 3D iPhone holder to hold a phone while watching videos on my phone like Netflix and YouTube. I Did research on the phone I have (iPhone 7) and found the dimensions of it. I then created a cube with the dimensions of the angle I want the phone at and the height and the width of the iPhone. I than added sketches and extruded objects into the cube to make it form into the iPhone holder. I also added text to the object "WHITETAIL" and I printed it off.
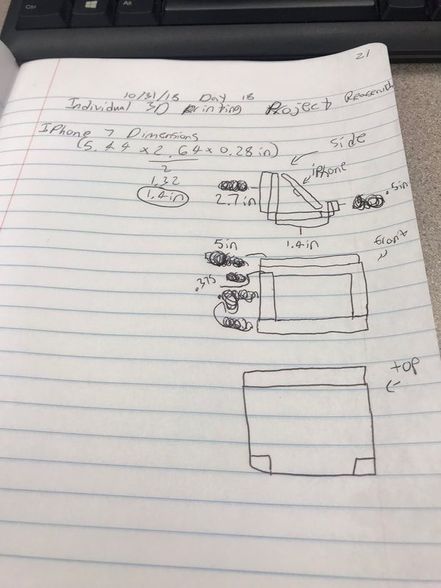
This is my pre-construction research and planing. I have the dimensions of the iPhone 7 and how I want the holder to look once it is printed out. I put all the measurements on the sketch so I could make the holder on Inventor and just plug in the measurements quickly.
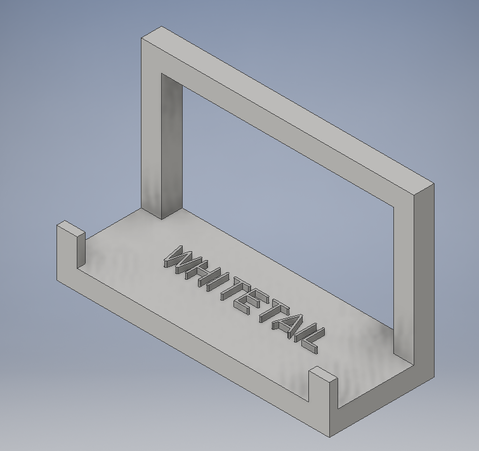
This is my Inventor File. As you can see It is a rectangle where the iPhone will sit inside and be slanted to where my eyes are. I also had cool text on the bottom as well.
To get to that point I had to do a bunch of extruding and plugging in different dimensions to get it ready to print. These are the different dimensions that I put on the iPhone holder. I had to measure my case and add it to what the internet said about the dimensions of the iPhone 7.
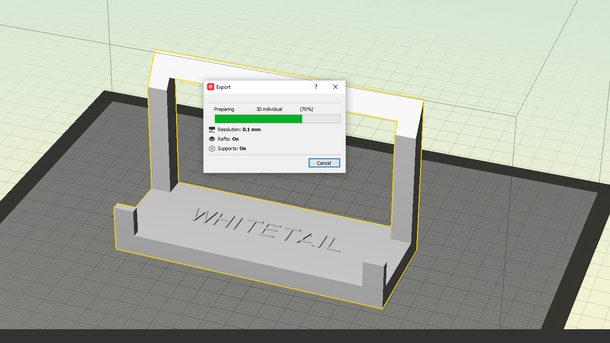
Now that I am ready to print I had to save it as a STL file in order for it to open in Maker Bot. Then I make it to 1,000%, changed it to Smart Extruder+, and added supports because there are parts that were hanging over space. Next it was time to print it. I had to Export Print File and I previewed the object before I printed it.
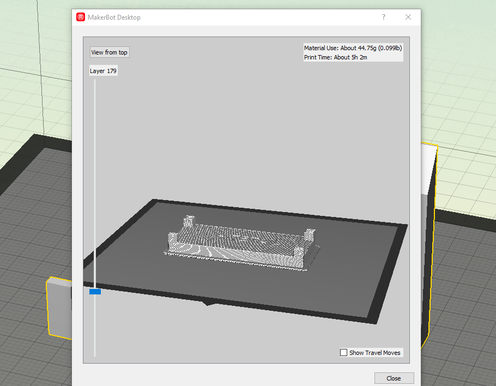
This is where I got to see how the object will print and see what order it will print in.
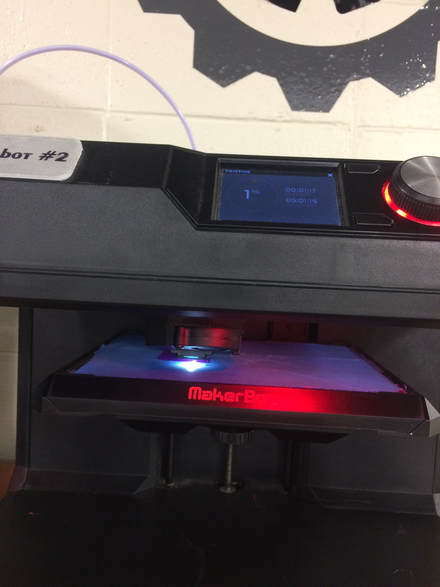
Next, I hit OK and went to the 3D printer. I decided on Purple filament. I found my file on the flash drive and I printed. The estimated printing time was 5 hours and 5 minutes. I waited the weekend and came back to my printed part.
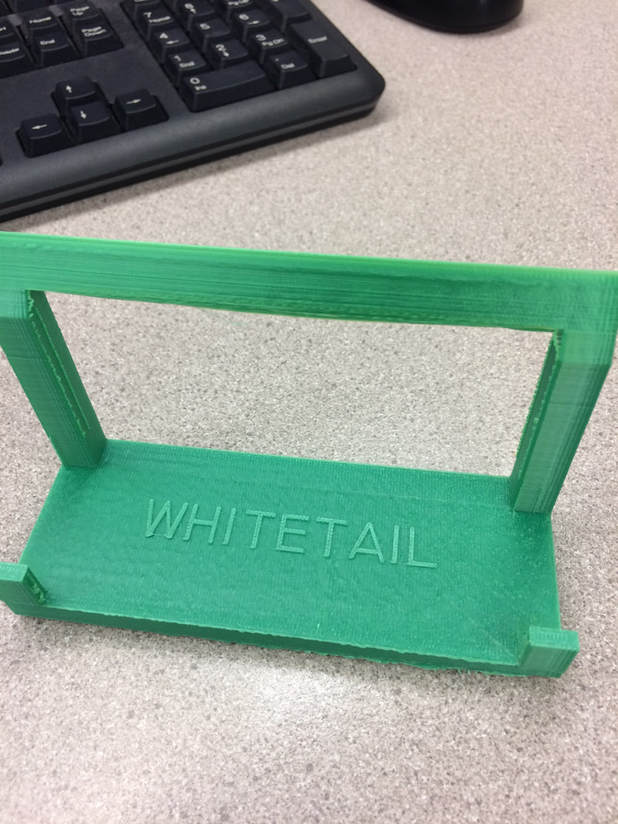
This is my final printed iPhone holder. It took 5 hours to print and now I have a phone holder with the words "WHITETAIL" on it.
|
Summary
This 3D project went by very fast. I completed it in one day and printed to find it on the second day. I did very good and I now have a phone holder I can use in my room. I made a rectangle that is cut out and the phone sits in a slant inside. There are the letters "WHITETAIL" on the bottom of the iPhone holder.
I have used a lot more of Inventor in 8th grade but this taught me how to handle text in Inventor. I have been dealing with it in Illustrator but not in Inventor. I was able to type what I wanted and extrude it out in order to see it. I am overall super confident in my Inventor abilities because I have this class under my belt as well as the Gateway class that I took in 8th grade. This project helped me to remember most of the thing I learned in Gateway that I forgot about.
To improve this next time I would maybe design it so that supports were not needed because the supports made it look a little sloppy. But overall I am very happy with my creation and I am exited to put it into use.
