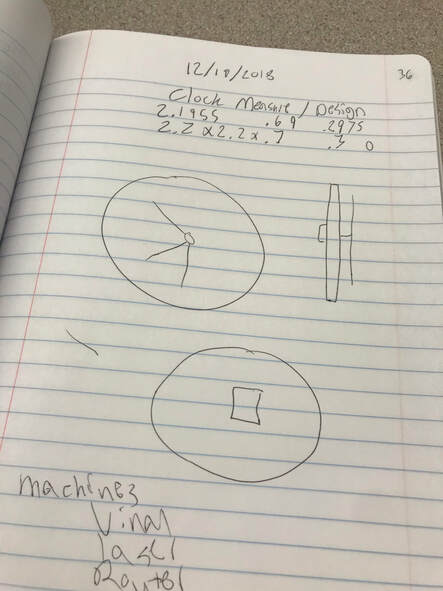
Clock Project
For this project we were tasked with creating a clock. We were given a clock mechanism to keep the time but we had to make the clock background and a place for the mechanism to go. We had to use three machines in the Innovation Center. I decided to use wood to create the clock. I decided to use the router to cut the wood into a circle, the laser to put a design into the wood, and the vinyl cutter to put the numbers on the wood.
Router
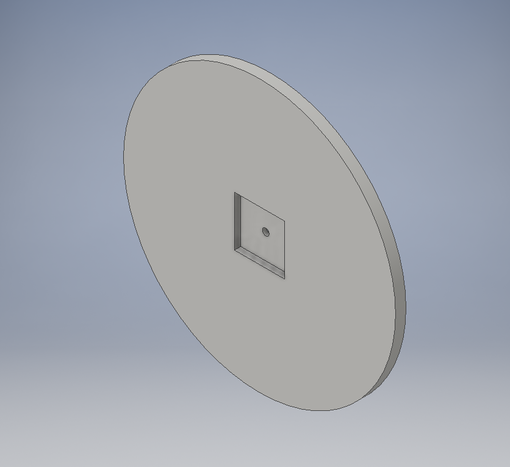
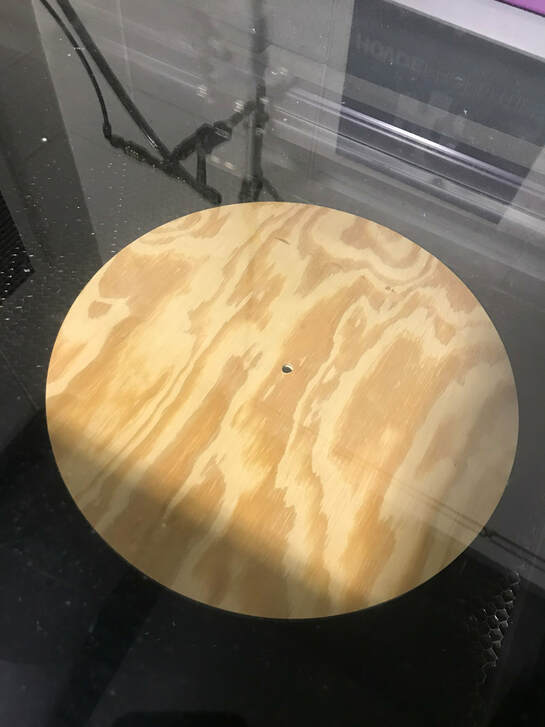
First I created my clock part in inventor and put all the dimensions. I made the clock be a circle with a 13 inch diameter. I also wanted a quarter inch engraved into the back for the mechanism. I also added a hole in the part for the hands to come out of. I made the hole and engraved part a little larger than needed so I was sure it would fit.
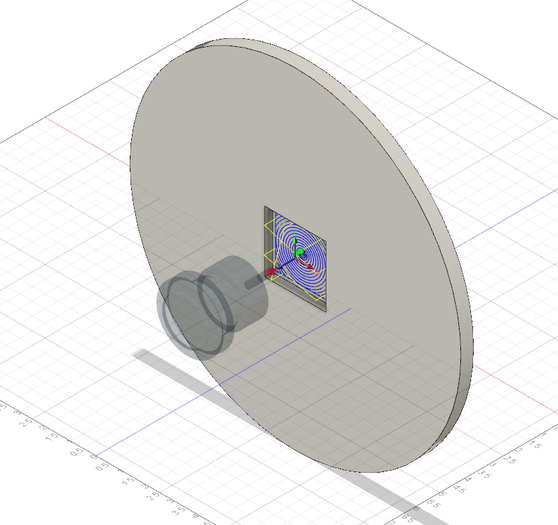
Next I took my part to Fusion 360 to get it ready for the router. I had to add three tool paths. One for the circle cut out, one for the back engraved, and one for the hole. I changed the spindle speed and I checked the simulation to make sure it would work. Then I converted into G code so the router can read it. I saved it to my flash drive and was ready to cut it out.
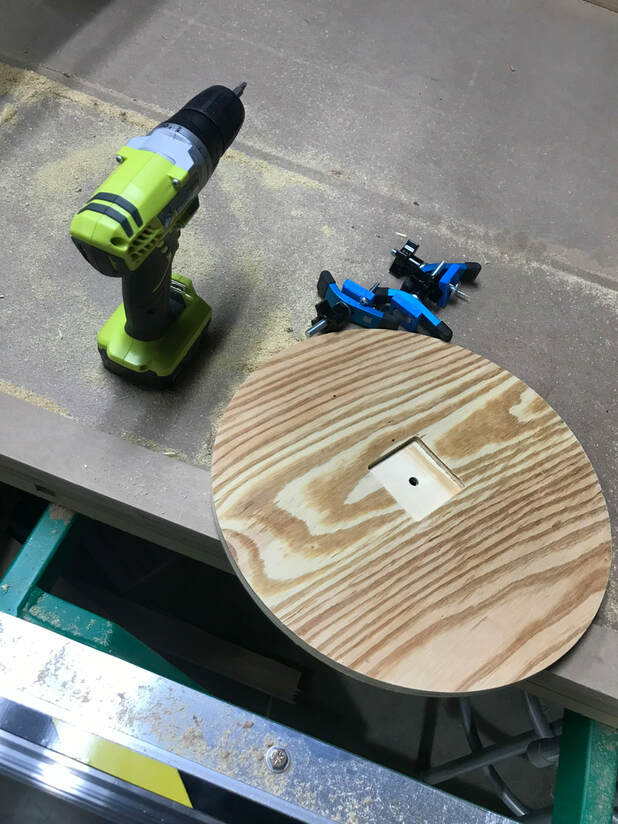
Once I got down to the router I uploaded my file G code and clamped my plywood to the table. I lined the router bit with the center of the wood and zeroed the X and Y. Then I used the Z sensor to get the Z axis in the right spot. Then I hit start and watched it cut out my clock.
Laser Printer
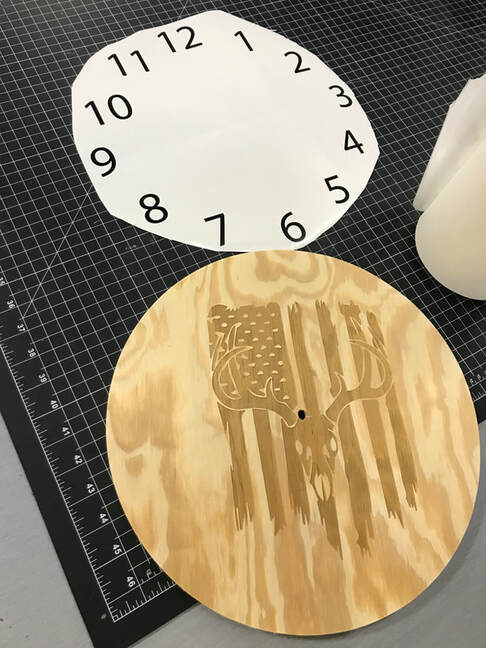
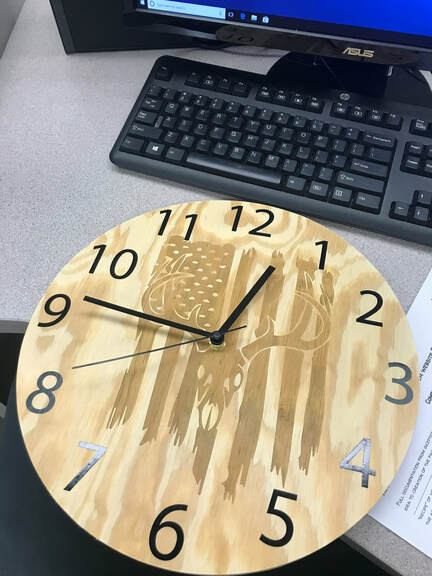
I decided to laser print a design onto my clock. I settled on a deer skull on an american flag. I copy and pasted it into illustrator and got it to the right size of my wood and got it ready to print.

Once I got to the laser printer I picked maple wood for my material and got the design in the correct spot and I printed it onto my wood. It took about 30 minutes for it to print out. But when it was done it looked really cool.
Vinyl Cutter
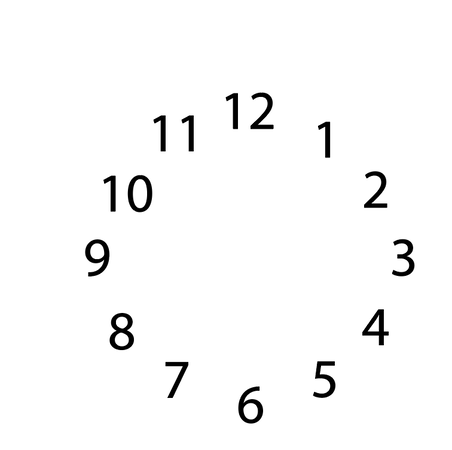
I decided to make my clock numbers with the vinyl cutter. I first put numbers 1-12 into Illustrator and found a font size that matched with the wood size. Then I made them into a circle like a clock in a 12 inch diameter so it would fir on the wood. Then I made the font a vector image and was ready to make the decal.
Once I got the the vinyl cutter I loaded the black vinyl into the machine and got the vinyl cutter all ready to print. I selected my image on the computer and printed it off. Then I weeded out all the parts that I didn't need and put the numbers onto transfer tape. I carefully centered the numbers onto the clock and pressed it down.
Clock Mechanism
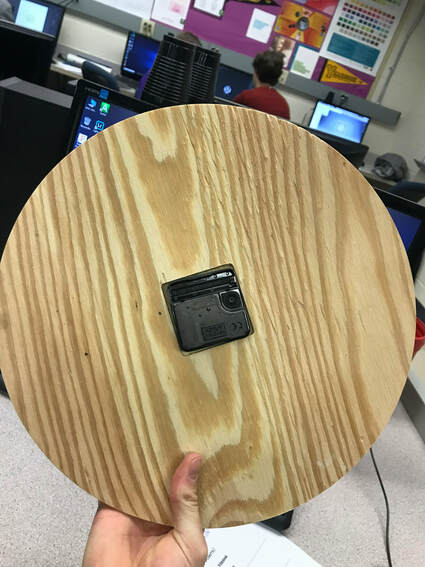
I received my mechanism and clamped it into the engraved part in the back of the clock. Then I put all of the hands on it and loaded batteries into it and it works great.
|
|
Summary
This project got me to not only use a bunch of different computer software but to also use a bunch of machines to create one common product. It was cool to use three machines and to see just one outcome.
I have used all these machines before but this is the first time I have ever used them all to create one thing that I can use at any point. I used the router, laser printer, and the vinyl cutter.
I am exited to put my new clock on the wall and use it daily to tell time. Not only is it useful but it also has a very cool design on it that I can look at and admire my great work.
