T-Shirt Idea and Design
|
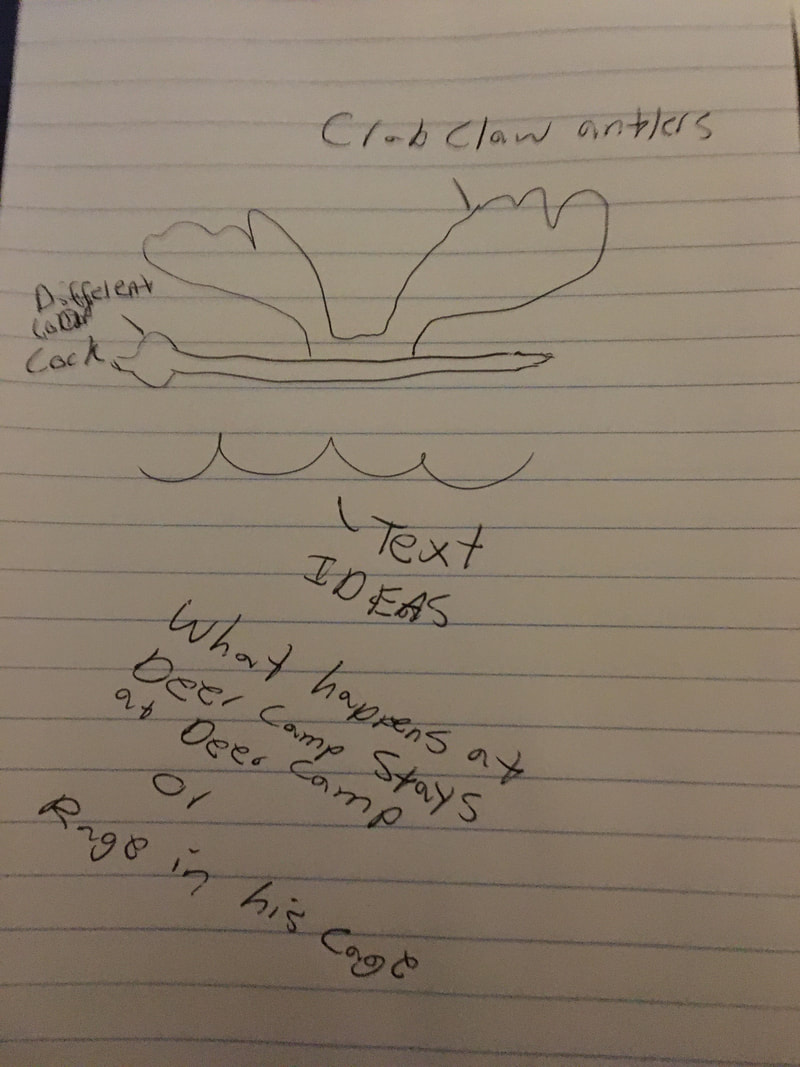
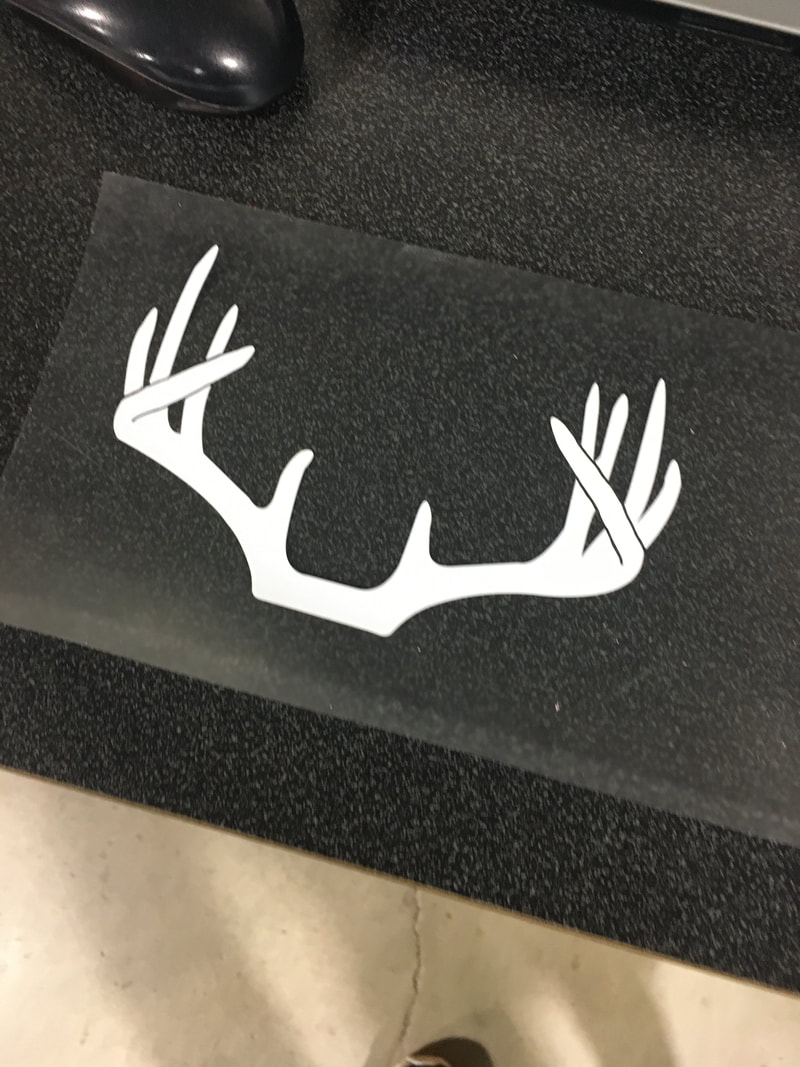
My initial idea for my heat press T-shirt was to do something related to hunting. After failing to find a decal that I deemed worthy to put on a shirt, I decided to find a way to put crab claw on my shirt. I first thought I could just place the image into illustrator and turn it into a silhouette. After failing that idea, I had Mr. Willauer try to help my figure out a way. After he failed to find away, he advised my to talk to Mrs. Proctor and see if she can help my Photoshop it into a vector image. I went into her contact time and she showed me how to use the line tool in illustrator. I cut out the antlers into a skull cap. It took all of contact time but I completed it and it looked just like Crab Claw.
|
|
|
|
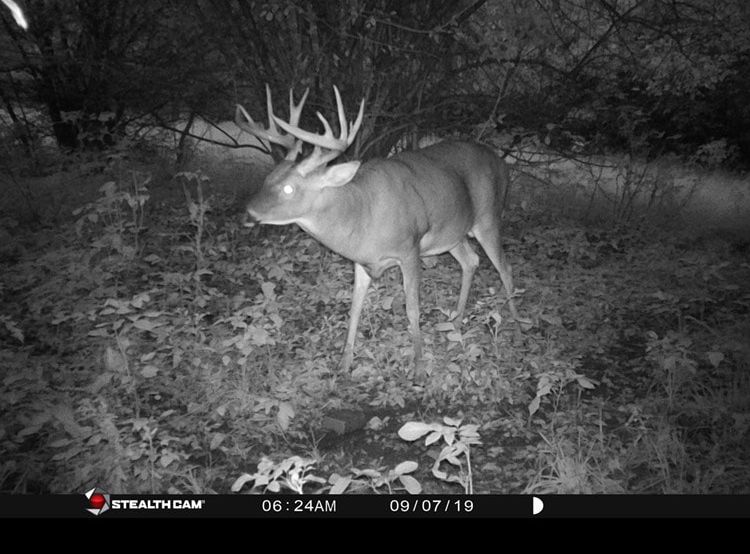
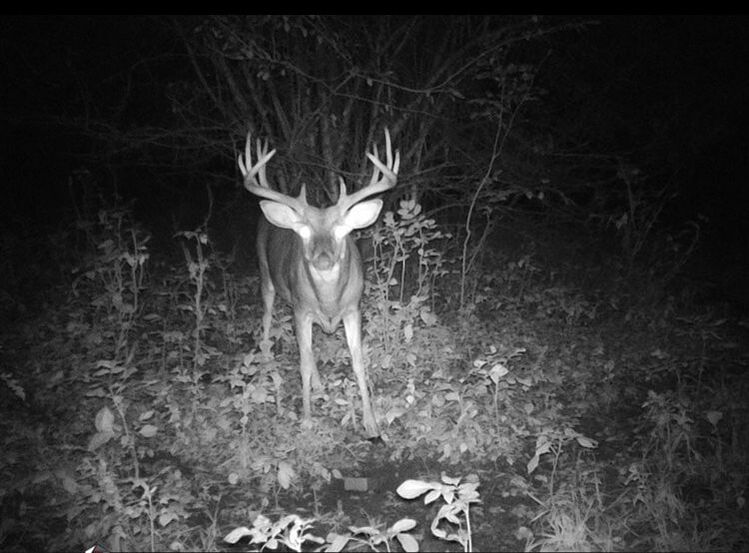
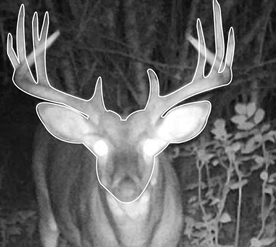
These are a couple trail cam photos of Crab Claw from earlier this year
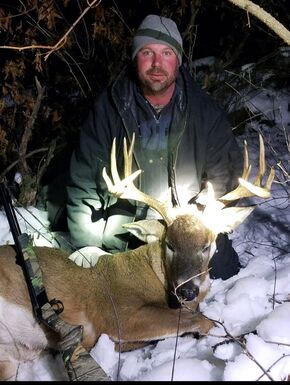
This is a picture of Crab Claw dead. My cousin Justin shot him during the creation of this sweatshirt
This was my original plan for cutting out Crab Claw's head, but I decided that this just looked kind of odd. So I decided to only cut out the skull cap.
|
|
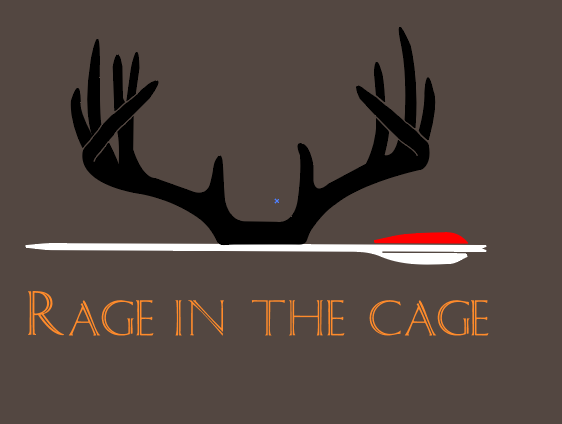
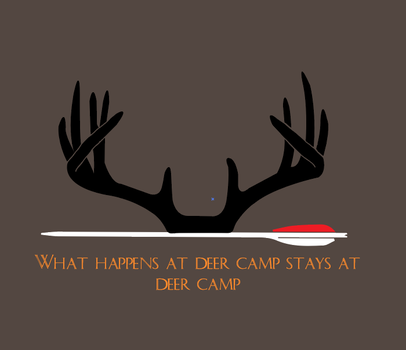
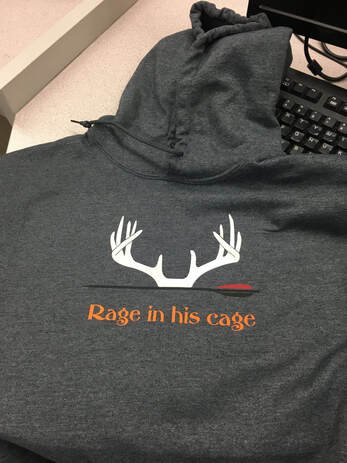
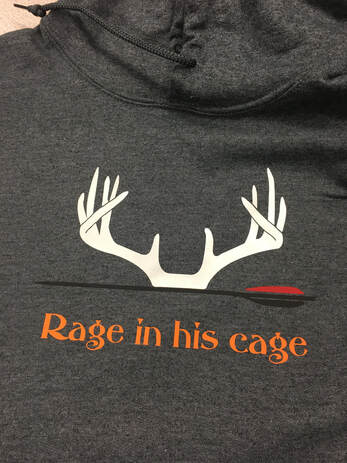
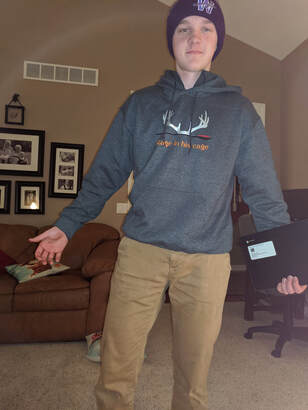
After turning the skull cap into a vector image, I came up with this design. I liked the look of the arrow separating the text that we needed to have and the antlers. I couldn't decide which colors I should use where or what the text should say. I ended up buying a dark grey sweatshirt to put the decal on so I decided that the antlers needed to be light grey and not black. Then all the other colors just fell into place. Black arrow, red cock fetching, orange text. I decided to go with "rage in his cage" because the other option was far too long.
Vinyl Cutting
|
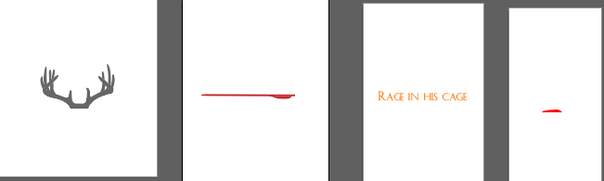
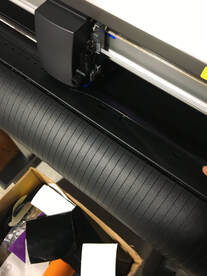
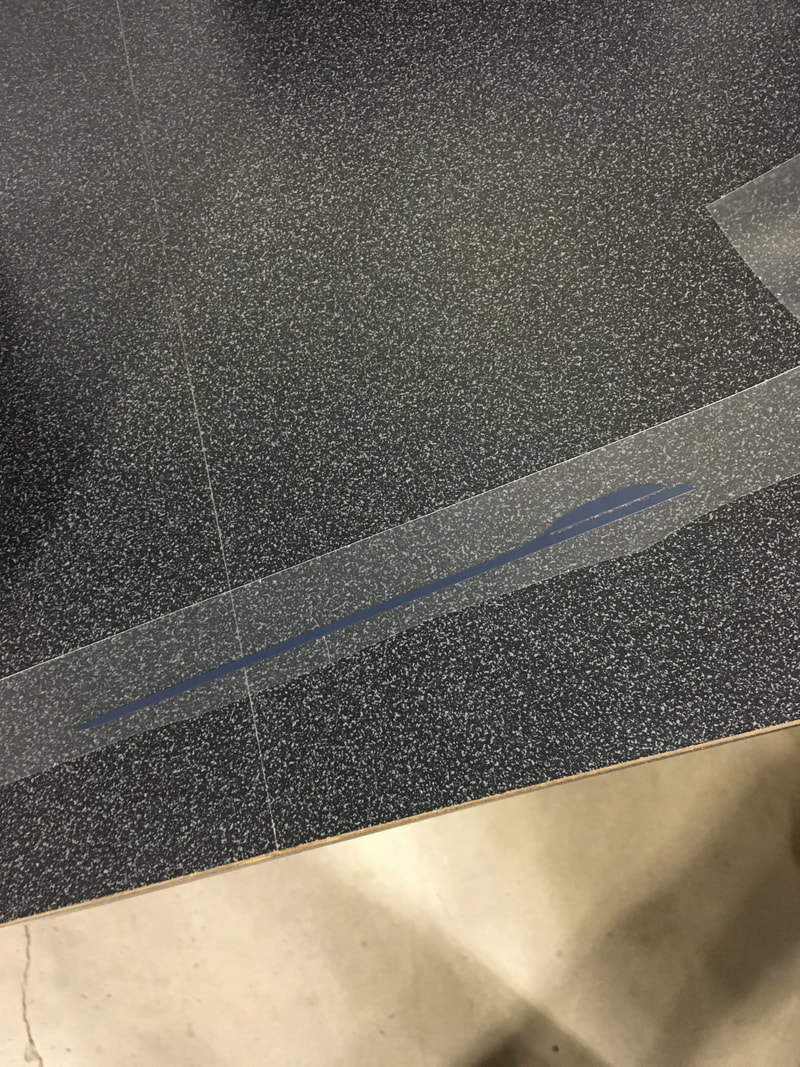
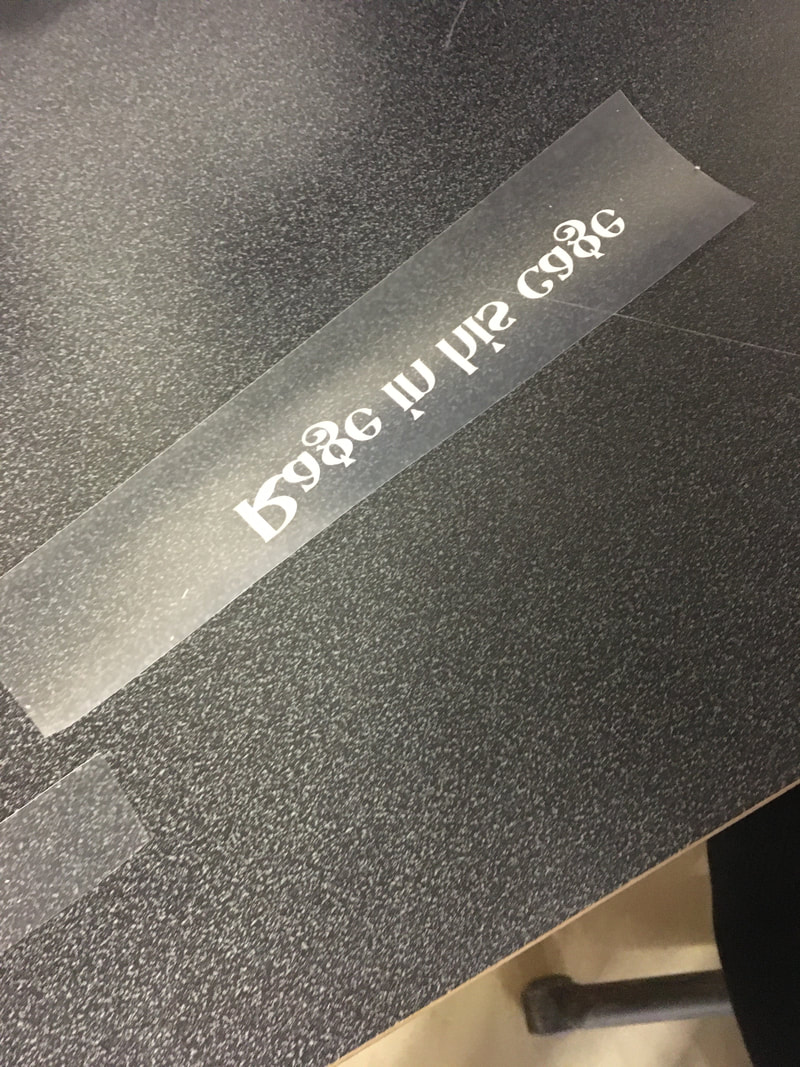
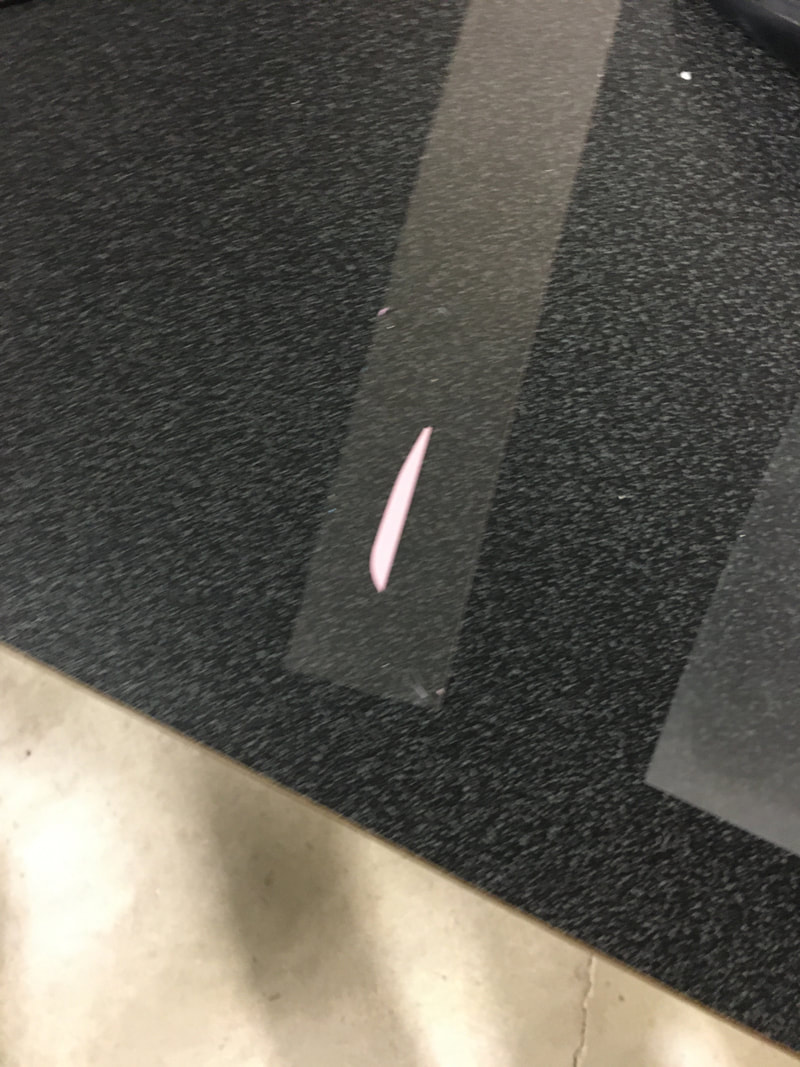
I has some troubles with the vinyl cutter but I ended up finishing it. I printed two of my four colors before I relized that I forgot to reflect the images. Then, once I printed all four my colors, I realized that I printed on the wrong side of the black (both sides are very black). Also, the writing didn't work because the font was too thin to peel off with the backing. Once I finally got all my colors cut out correctly and peeled off the backing, I went over to the heat press.
|
|
Heat Pressing
|
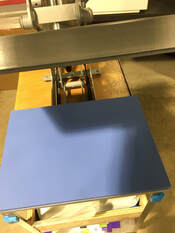
Once I got to the heat press I had to heat my shirt so the vinyl would sink into my shirt better. Then, I had to decide which color to start with. I chose the black arrow because it is straight and it was a great baseline to make sure it would be level. I pressed the other three colors into my shirt, making sure to put that extra sheet over everything (so my previous placed vinyl would not be ruined).
|
|
|
|
Summary
In this unit, I learned how to use the line tool in order to trace an image and turn it into a vector image. I found out that you can trace an image using curved lines (which makes sense but I never knew it existed). That make the tracing of Crab Claw much easier.
I also got the opportunity to get creative and come up with a design that fits around Crab Claw's antlers. It was sort of fun to brainstorm the different texts and designs that would look cool. We were not allowed to copy any designs on the internet so it allowed me to get creative.
I also was reminded on how to use the vinyl cutter. It was a new vinyl cutter but it pretty much worked the exact same way. I was very surprised that it cut out my designs so quickly. I also learned how to use the heat press. It was very simple once you get the hang of it. The hardest part is lining up the shirt so that the design will go directly in the center of the shirt. In all I am very happy with the way that the shirt turned out and it will definitely be added to my wardrobe.
