Laser Project: Notebook
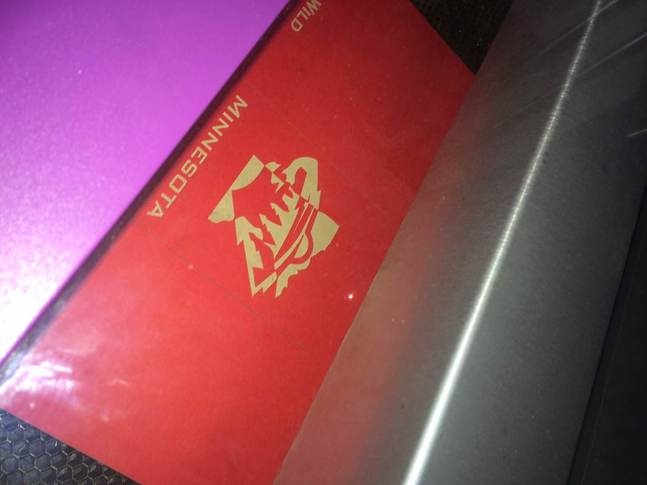
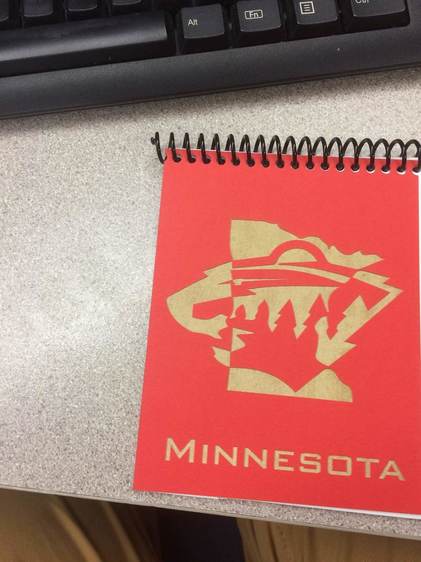
This was my notebook design from my Illustrator file. On the left is the front of the notebook and to the right is the back of the cover. We needed to have a design engraved on the front cover so I chose the hockey sticks. I wanted a hockey player but I could only find player with big spaces inside the player that couldn't get cut out. So I had to settle for the hockey sticks. On the back side is a cool Minnesota Wild logo that is through the state of Minnesota. I have never seen that logo before and I liked it.
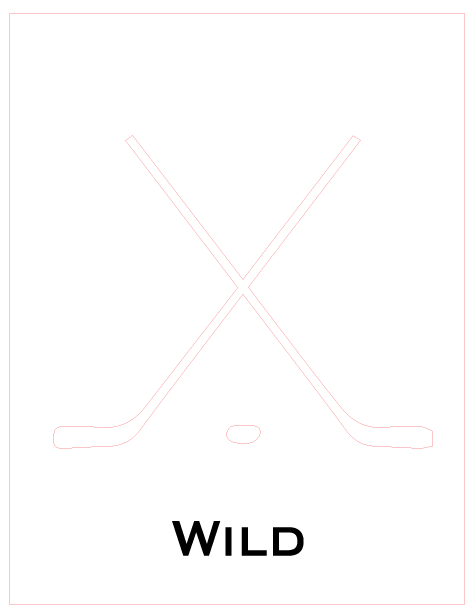
Front
|

Back
|
I made the stoke red so the laser would cut it out and turned it to a 0.0001 stroke size. Than I changed the pictures and the writing to a vector image so the laser cutter can print it. I was then ready to print. I went to print and set it up to the correct printer than I put the material to Mat Board. And printed it off.
|
|
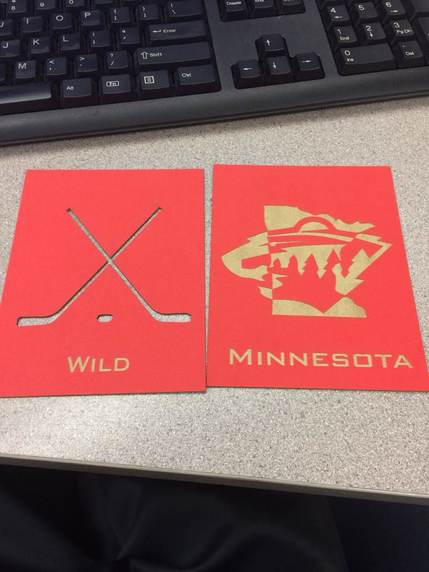
Once it was printed off I took the cut parts out of the mat board piece. The printer didn't print it all the way through so I had to use an X-Acto knife to cut it out all the way. Next it was time to put the ring bindings on.
|
|
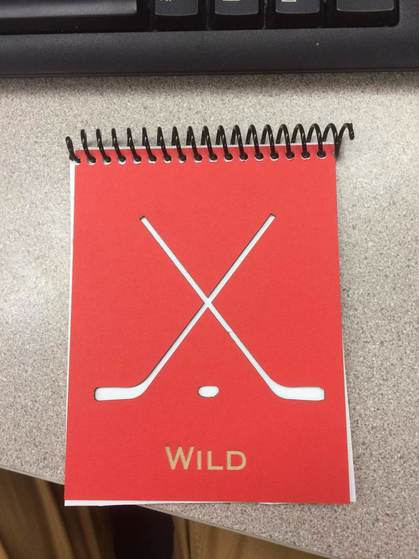
I had to use the hole puncher to punch holes on the top for the binding. I had to punch the holes on the front for the front piece and on the back for the back piece. This is so the holes line up. Then I had to cut 5 pieces of paper into fourths so I had 20 pieces of paper to put in the notebook. Now I am ready to write anything I want in my new notebook.
Laser Project: Water Bottle
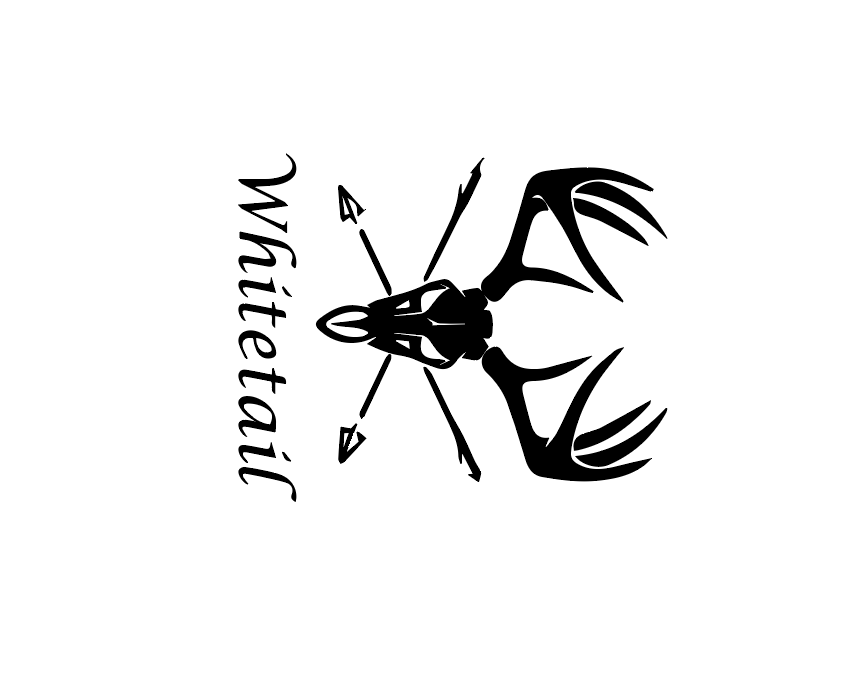
To the left is my water bottle file. I found a cool picture of a deer skull with arrows through it and I put it into illustrator. I than added text and turned the image and the text into a vector image. Once that was done I grouped the text and the image and rotated it 270 degrees so it would print the right direction on the water bottle.
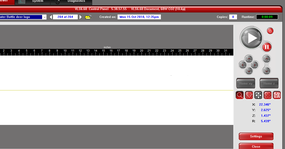
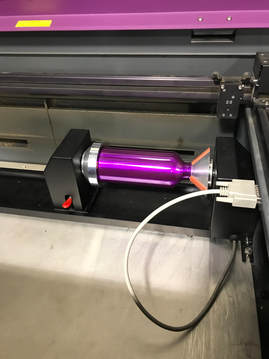
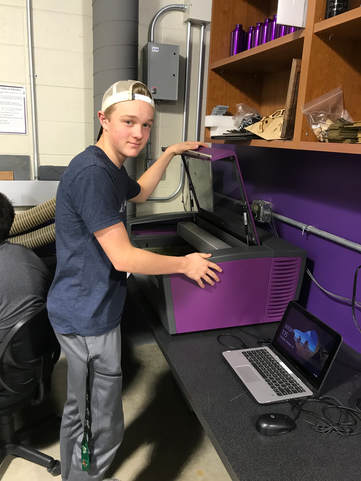
Now it is time to print. In order to do that I needed to install the rotational jig. This is so the water bottle will rotate while the laser prints on it. Once the jig is in you put the bottle in and tighten it. Then you lock the jig and position the design in the correct spot on the water bottle. Next you hit the big green play button and watch it print.
|
|
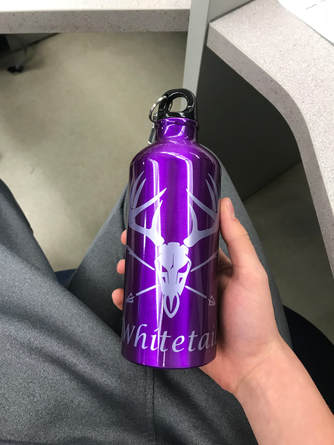
Now the Water bottle is complete and ready to drink from!
|
|
3D Press fit Box
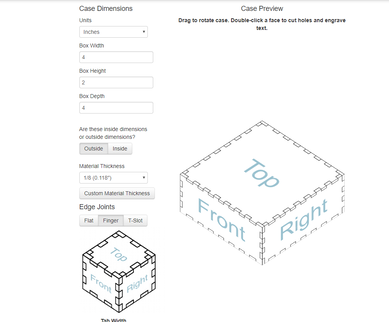
This part of the laser printer project we had to make something from the laser printer and form it into a 3D object. I chose to make a press fit box. To to this I searched press fit box generator and clicked the first option. I made it the dimensions and thickness I wanted. Next, I changed it to finger joints and saved it as a Illustrator file.

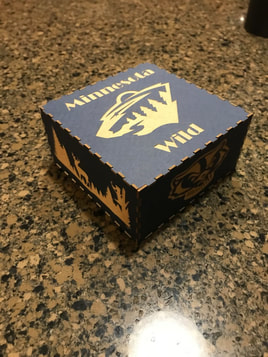
Once the box was opened up on Illustrator I was ready to design it. I chose a Wild logo for the top and two hockey logos along two of the sides. Then I put two hunting logos along two of the sides. I changed them to vector images and made the font vector into a vector image. Now I was ready to print.
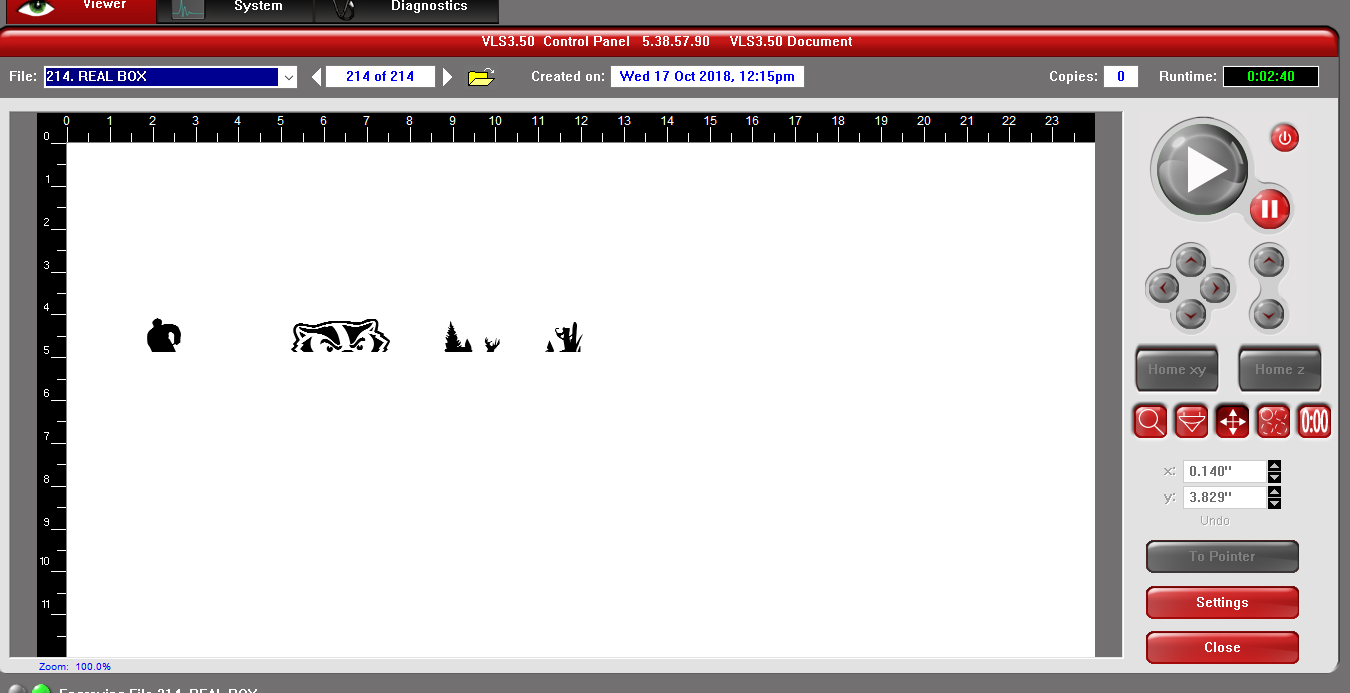
Next, I hit file/print and changed the preferences to the correct printer and material thickness. I also changed the material to mat board. Then I hit print. I opened the UCP file and positioned the box layout in line with the mat board. I checked all corners to make sure it didn't print off of the board. Once it was lined up I hit the green play button and watched it cut out my box.
|

|
Finally it was time to put the box together. First, I took the excess mat board away from the flat box. Then I set the box up with the press fit fitting together. Next, I glued the inside of the box so It would stay.
Summary
The laser rotation is the most time crunched rotation of them all. We had to complete three projects. The first was the notebook, we had to design a cover for a notebook using illustrator. Next, we had to design the side of a purple water bottle and laser print it using the rotary jig. And finally, we had to design and construct a 3D object from Thingverse. For that one I chose a Press Fit Box and designed it.
I got to learn more about the laser printer and designing in Illustrator. I went from not understanding Illustrator at all to being able to design any image and get it ready to print.
I really enjoyed this station because I thought it was fun to watch my logos and designs print off using a laser. I was satisfying for my to see cool pictures being made with a laser. I also managed to stay ahead of the project so I finished it on the due date no problem.
