Pre-Search
|
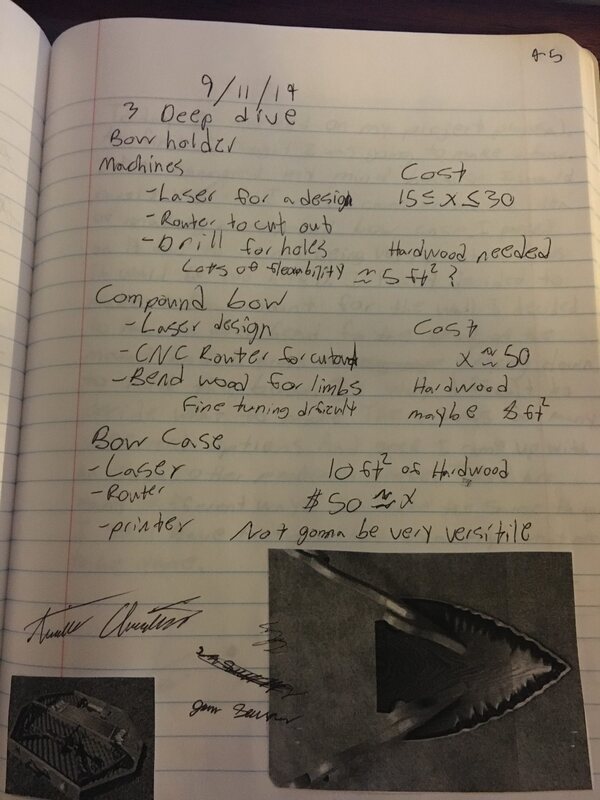
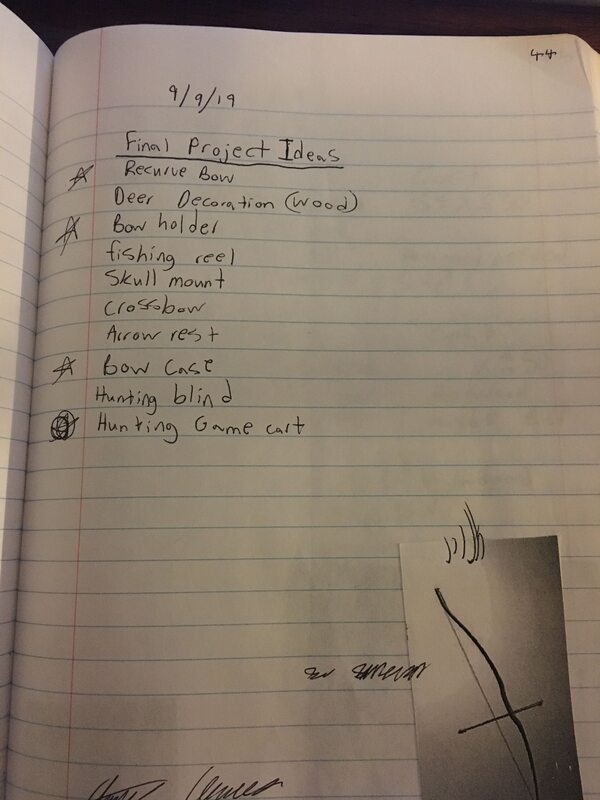
First, we were tasked with coming up with a list of ten final project ideas. when we were tasked to cut that list down to three great ideas. My three ideas were a bow case, a bow holder, or an actual re-curve bow. I decided to go with the bow holder because it was the only one of the three that I don't currently have.
|
|
|
Sketches
|
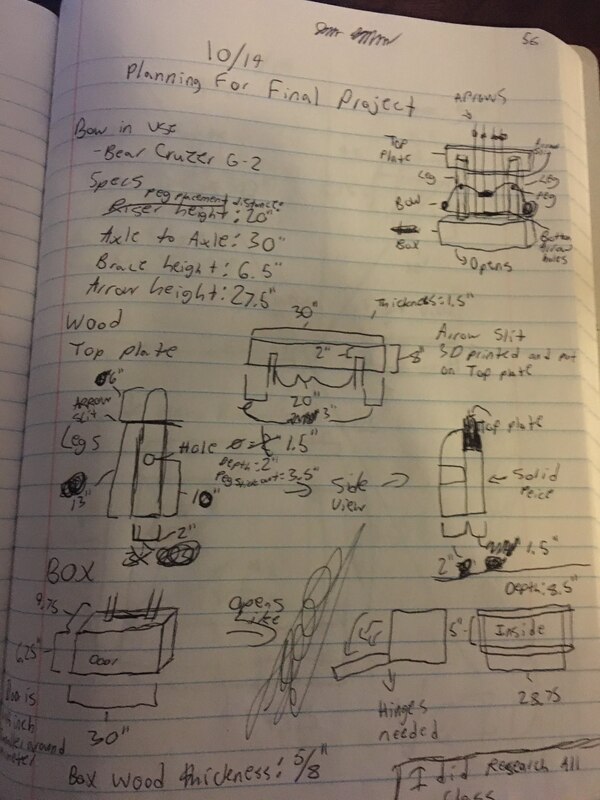
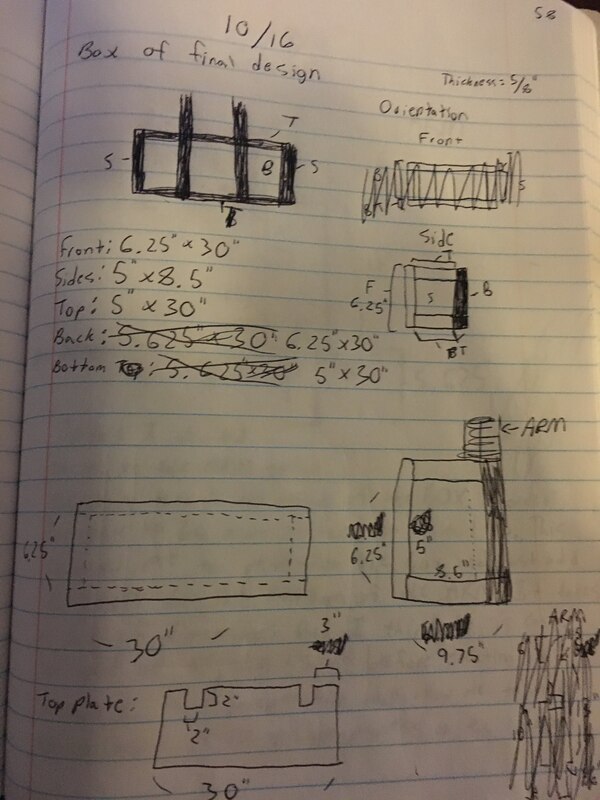
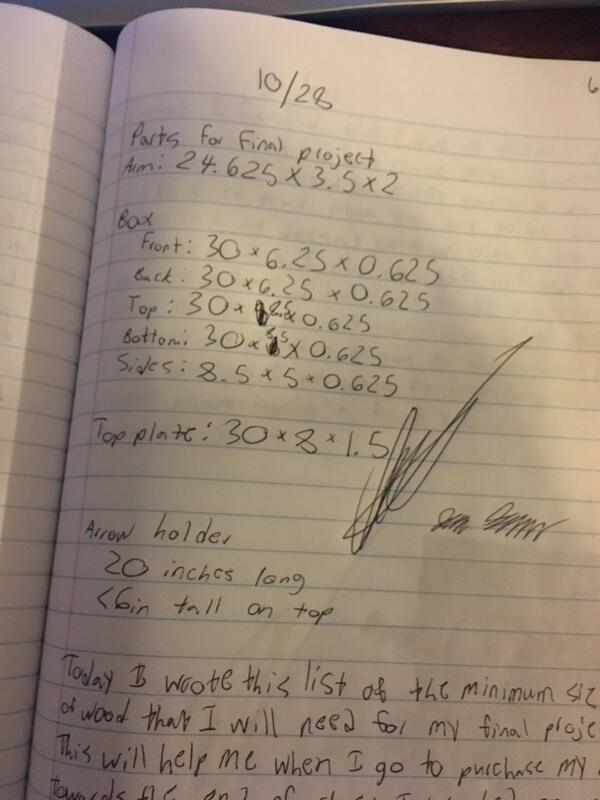
Before I could begin cutting anything or buying anything. I needed to determine exactly what I needed and what size. So I made a series of sketches based on the measurements of my bow.
The parts I will need include
The parts created in the shop will not be included in this website due to the simplicity of them. They are all flat rectangles. I used the planner, chop saw, and table saw |

|
|
Computer Documentation
Next, it was time to create my parts and designs on the computer. I had to use inventor, illustrator and fusion to complete my online build.
-I used inventor for my ARMs, BOTTOM, and TOP. Then I put each of them in fusion and used the router to cut them out.
-I used inventor for my TOP ARROW HOLDER and my TOP ARROW HOLDER. Then I put both in maker bot and 3D printed two of each.
-I used illustrator my my TOP PLATE design. I laser engraved the design on the TOP PLATE.
|
|
|
ARM on inventor and ready for Fusion
|
ARM on fusion and ready for the router
|
|
|
|
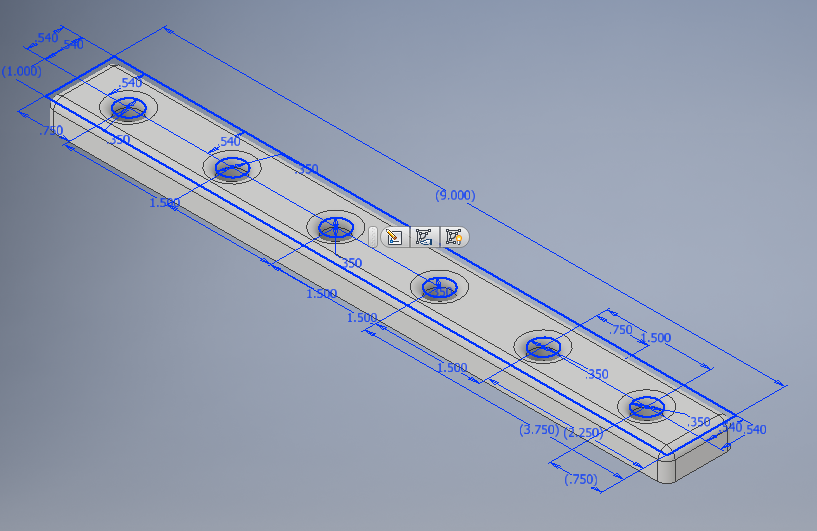
TOP on inventor and ready for fusion
|
TOP on fusion and ready for the router
|
|
|
|
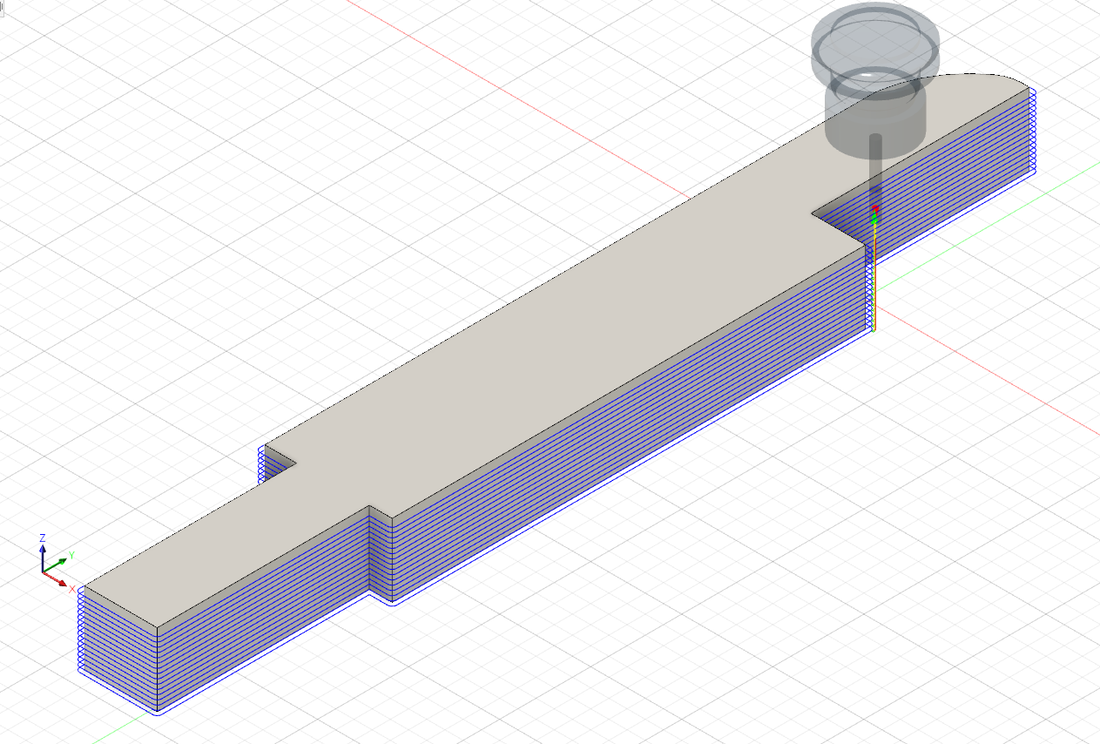
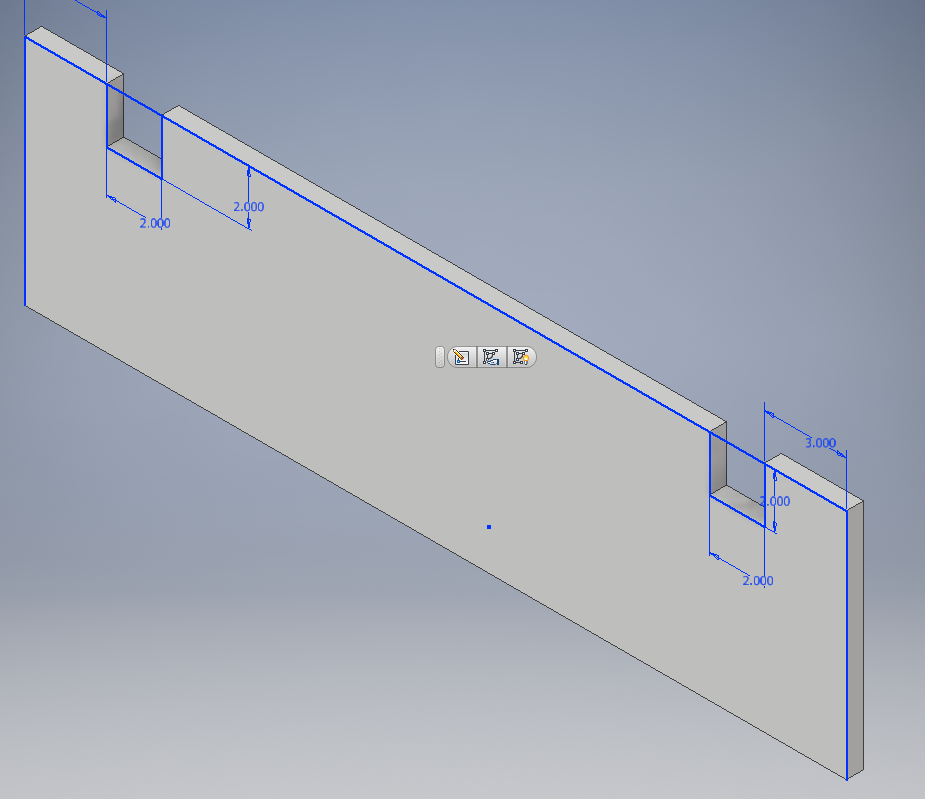
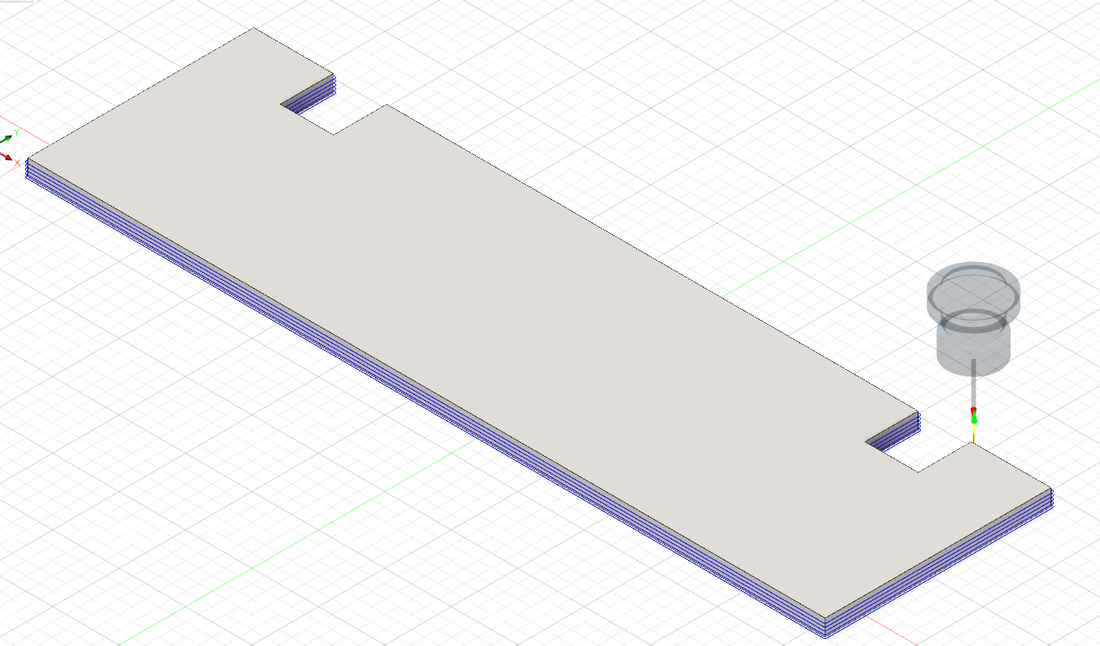
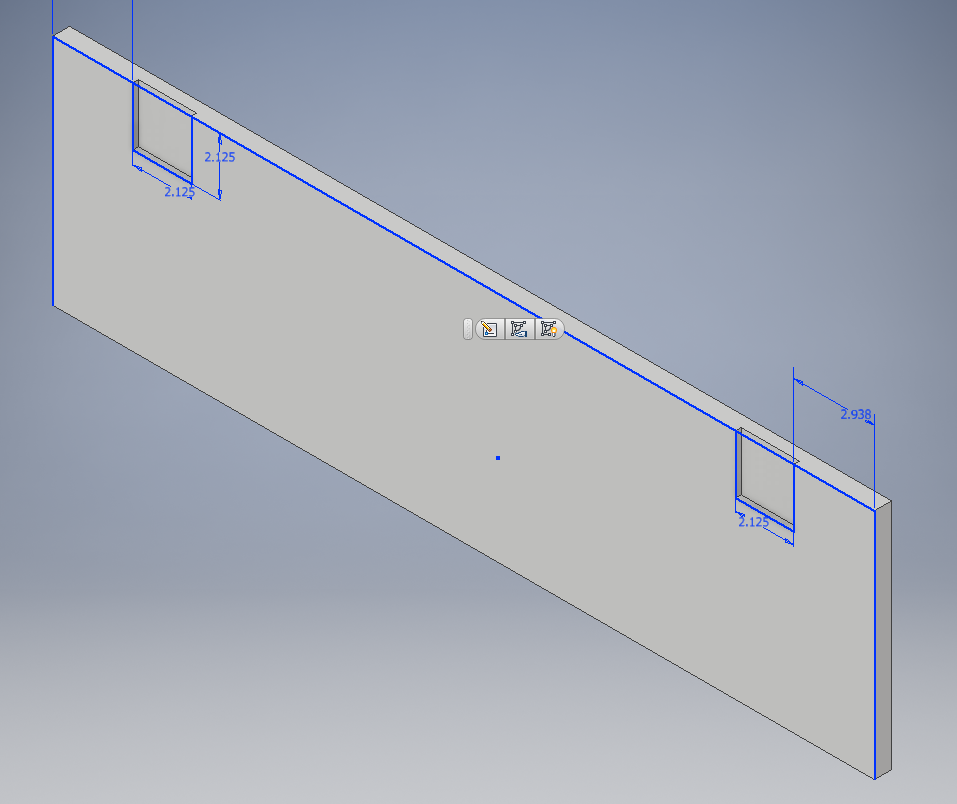
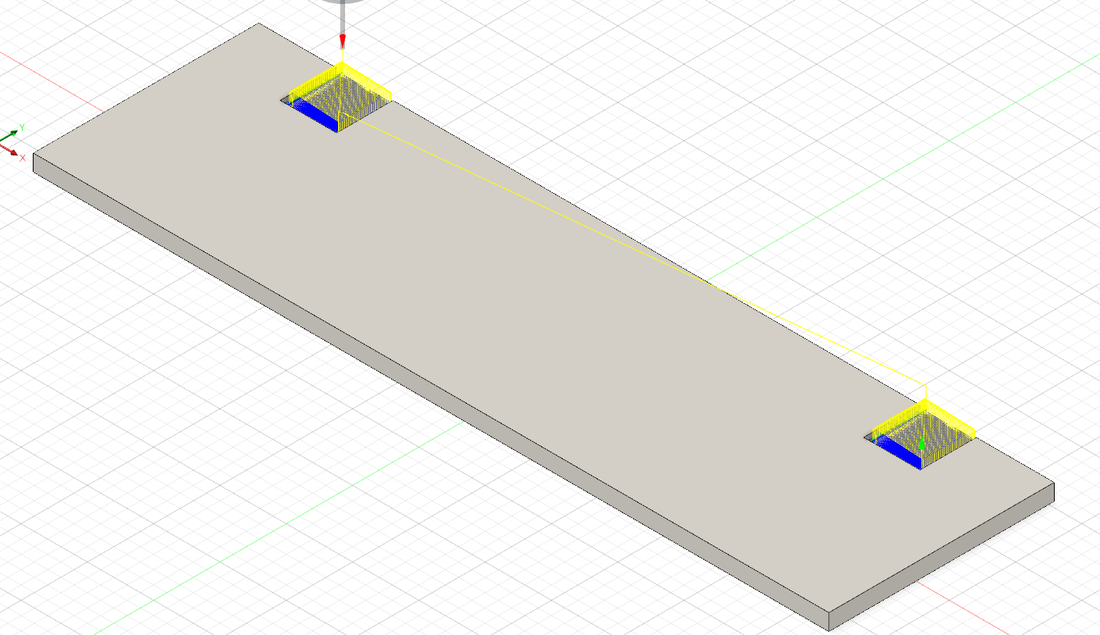
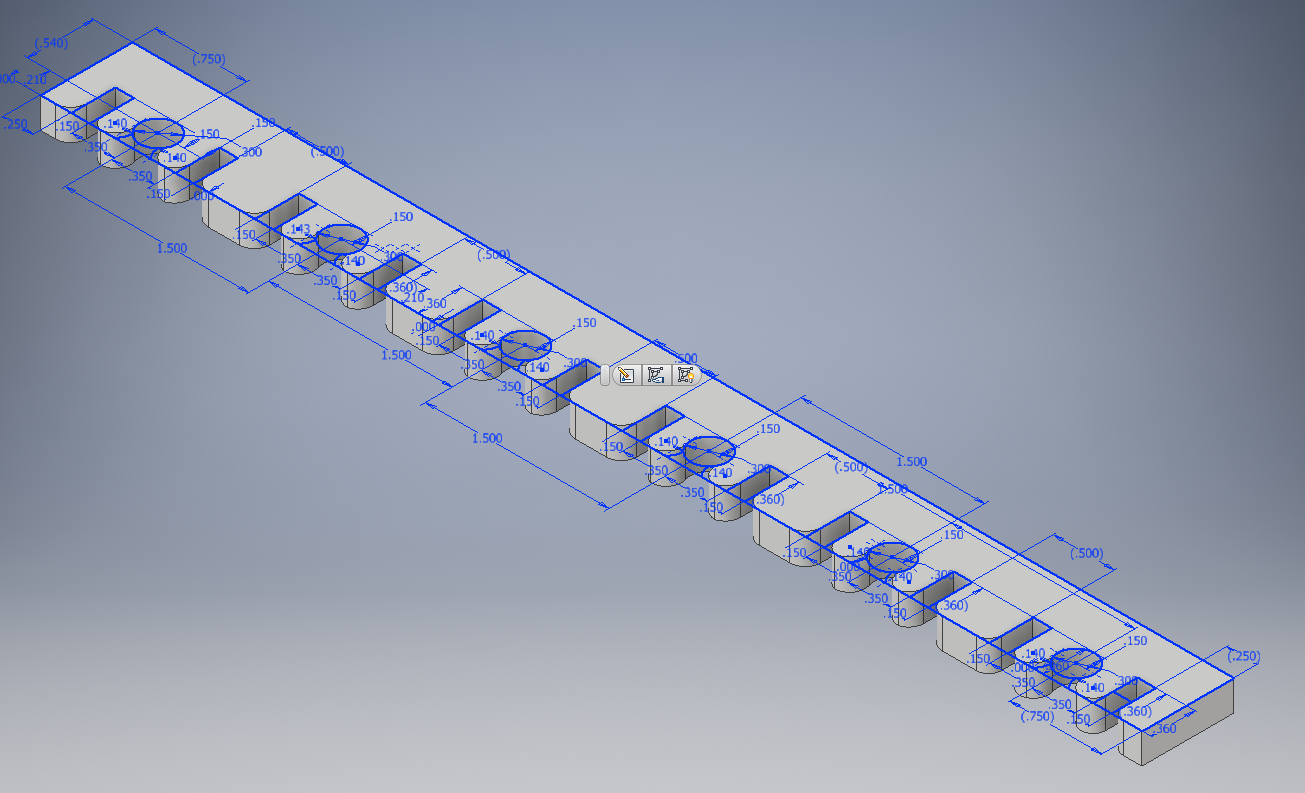
BOTTOM on inventor and ready for fusion
|
BOTTOM on fusion and ready for the router
|
|
|
|
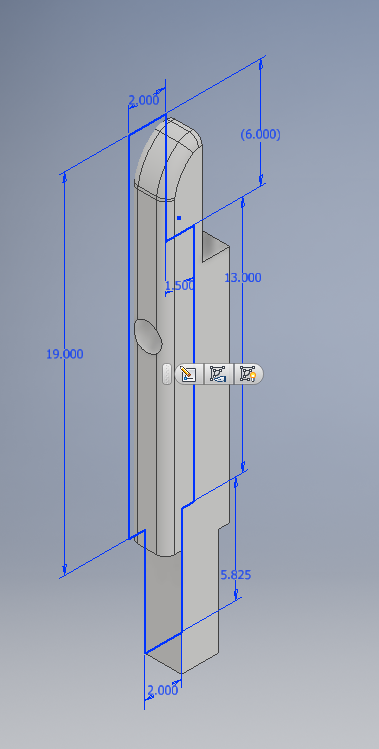
TOP ARROW HOLDER on inventor ready to print
|
BOTTOM ARROW HOLDER on inventor ready to print
|
TOP PLATE design on illustrator and ready to be engraved on the wood
Router
|
I used the router to cut out my TOP, BOTTOM, and ARMs. I broke too many bits trying to cut out my treated 4x4 wood so I glued two 1 inch pine boards together in order to have softer wood. I screwed the ouside perimeter of the wood (where the part was not going to be). When the router got halfway done with the last pass, I stoped it and clamped the part down.
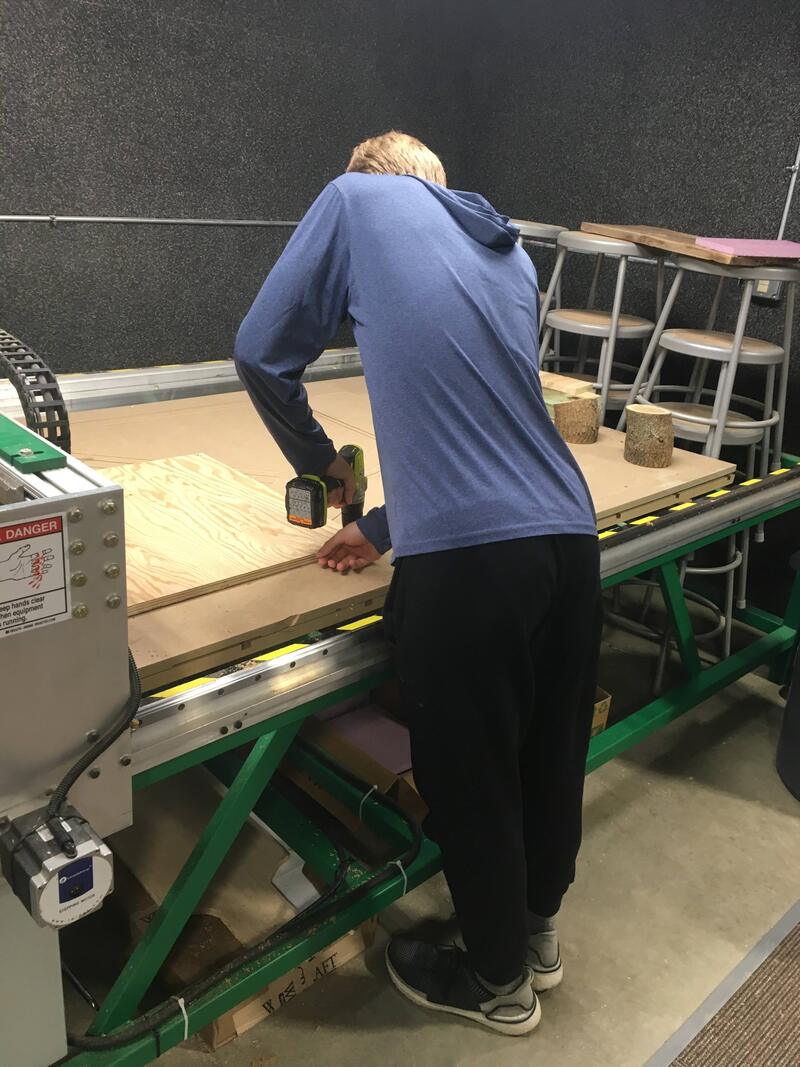
Me setting up the router by screwing in the outsides of the wood
|
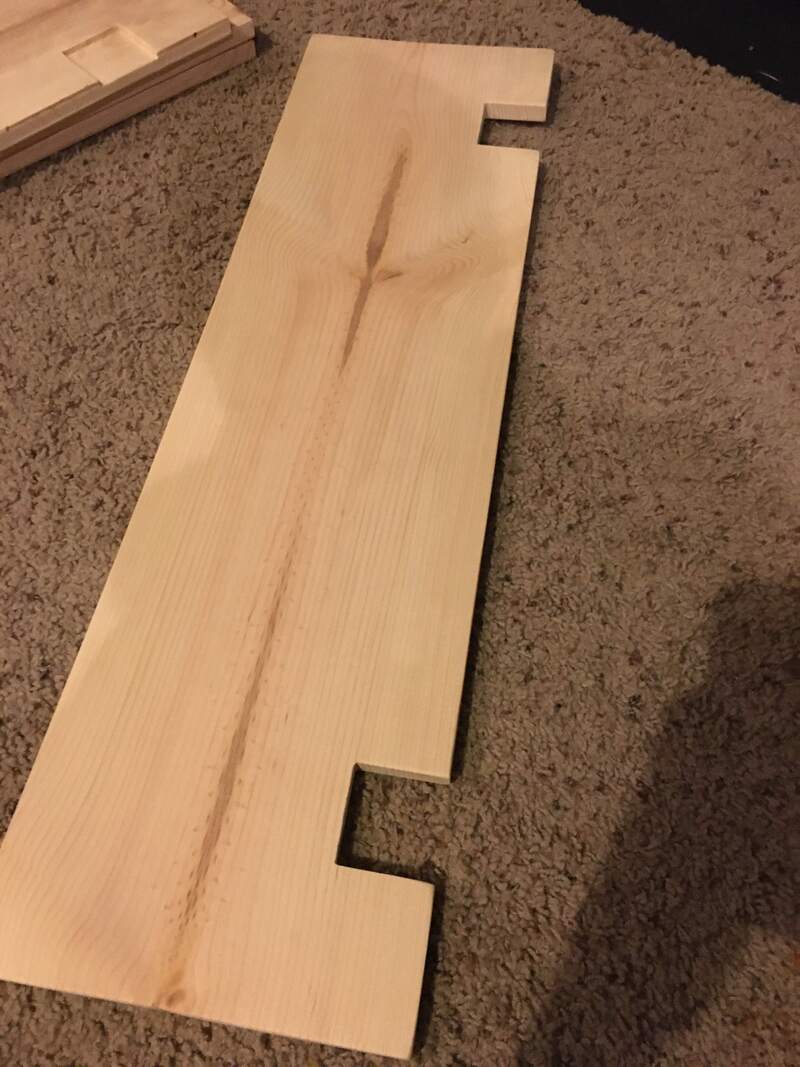
Final TOP
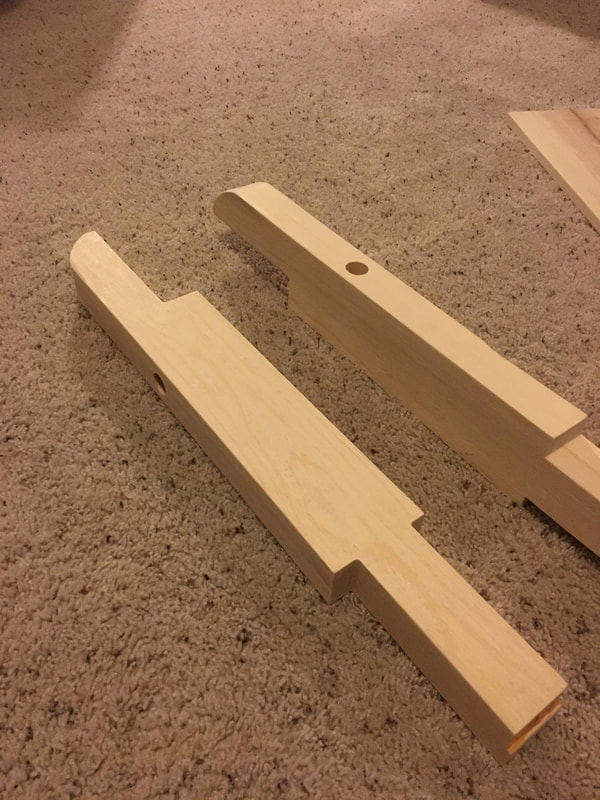
Final ARM
|
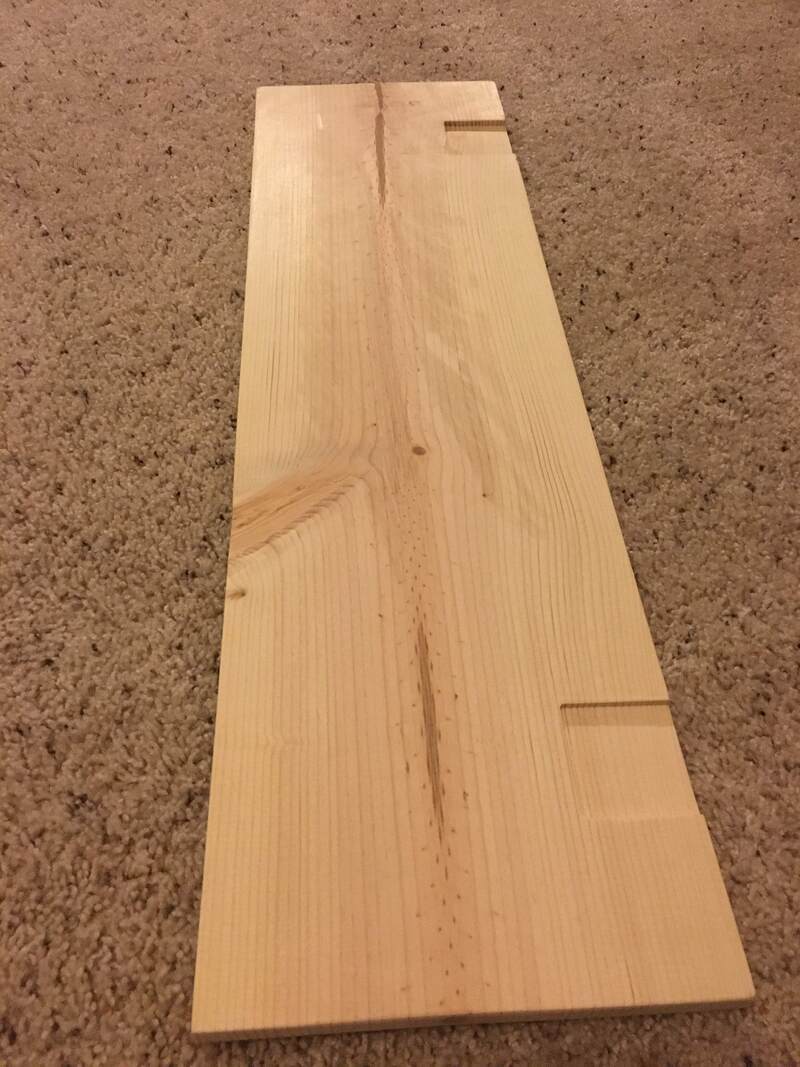
Final BOTTOM
Me working on the router
|
Laser
|
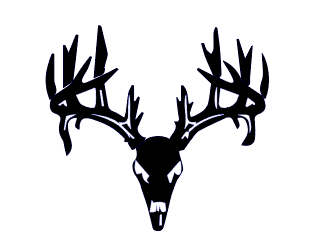
I used the laser to engrave a design on my TOP PLATE. It was a deer skull and I put it directly in the middle of the TOP PLATE.
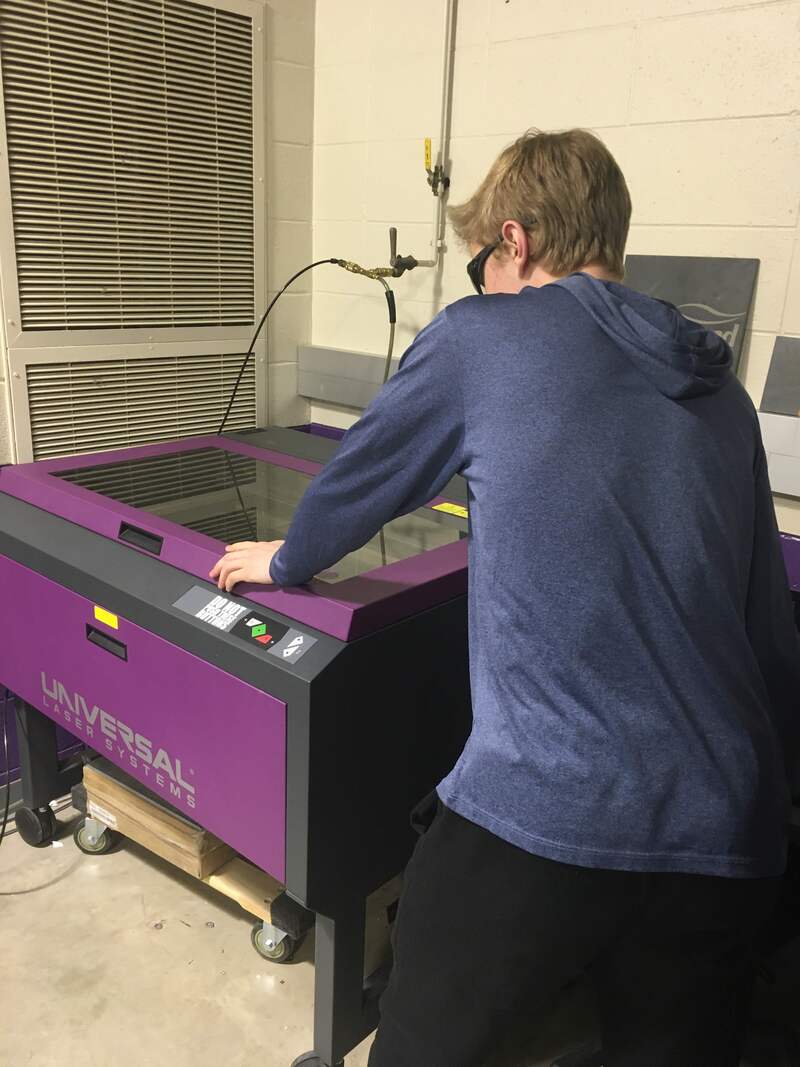
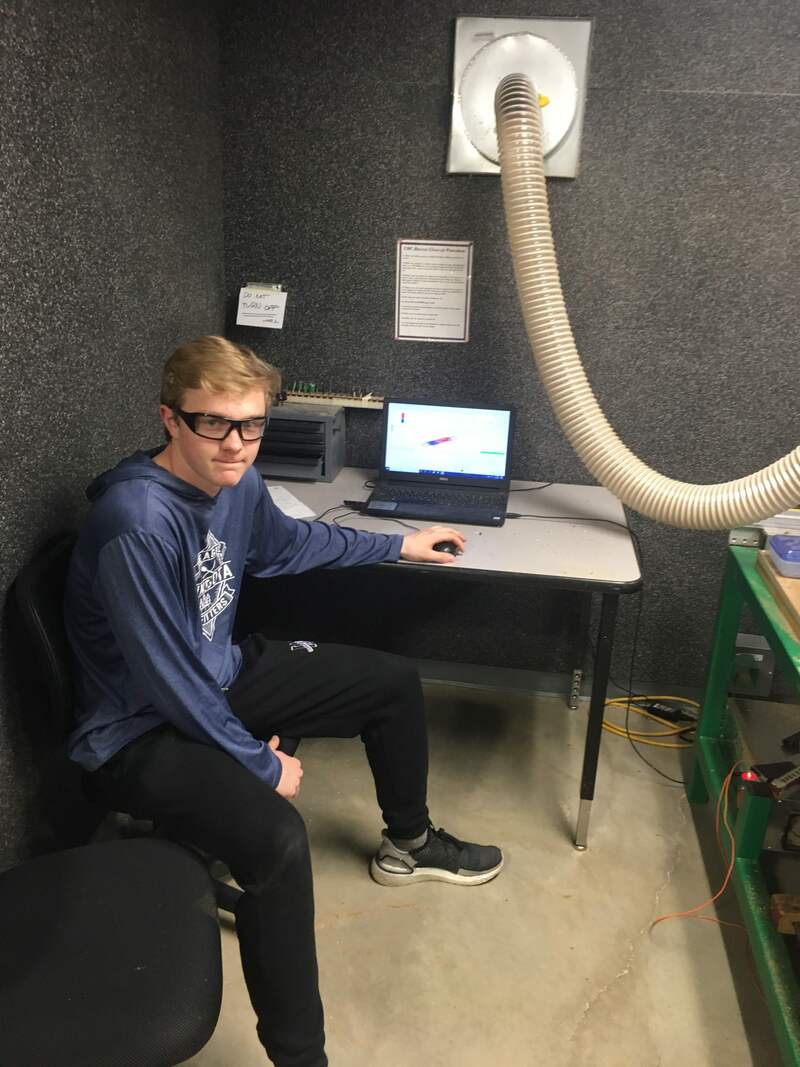
Me working on the laser
|
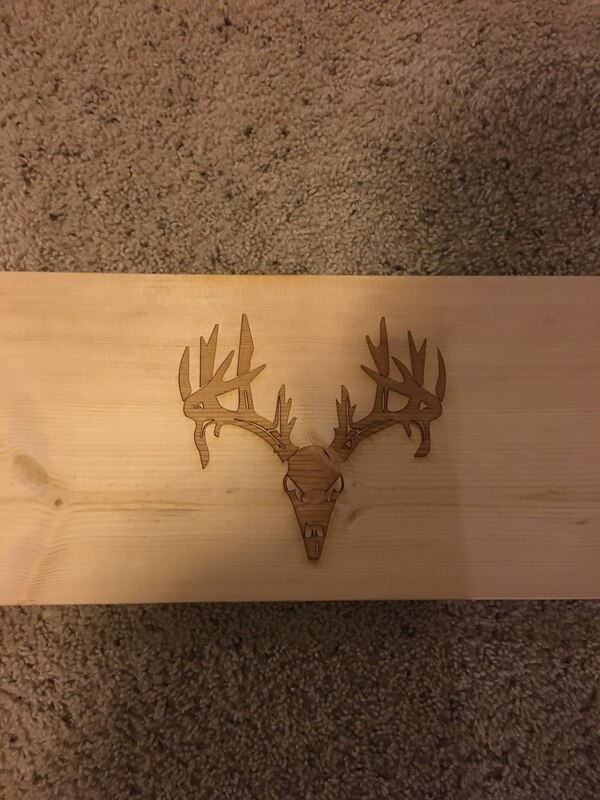
Design laser on TOP PLATE
|
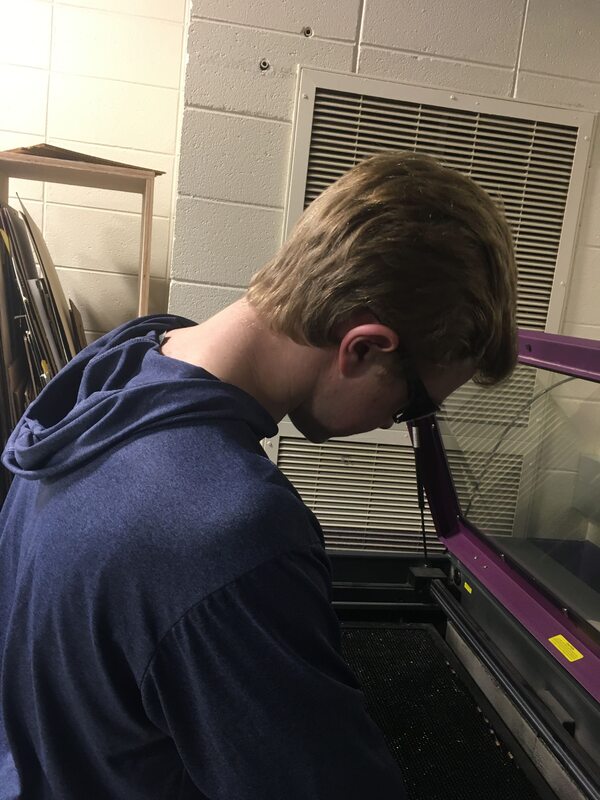
Me setting up the laser
|
3D Printer
|
I used the 3D printer to make my TOP ARROW HOLDER and my BOTTOM ARROW HOLDER. I printed two of each. They are ment to hold my arrows straight up and down.
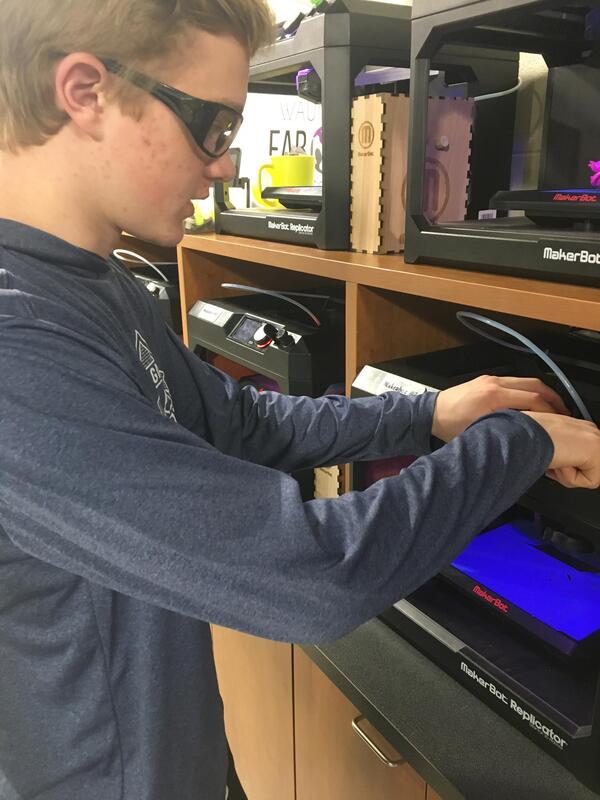
Me setting up the 3D Printer
|
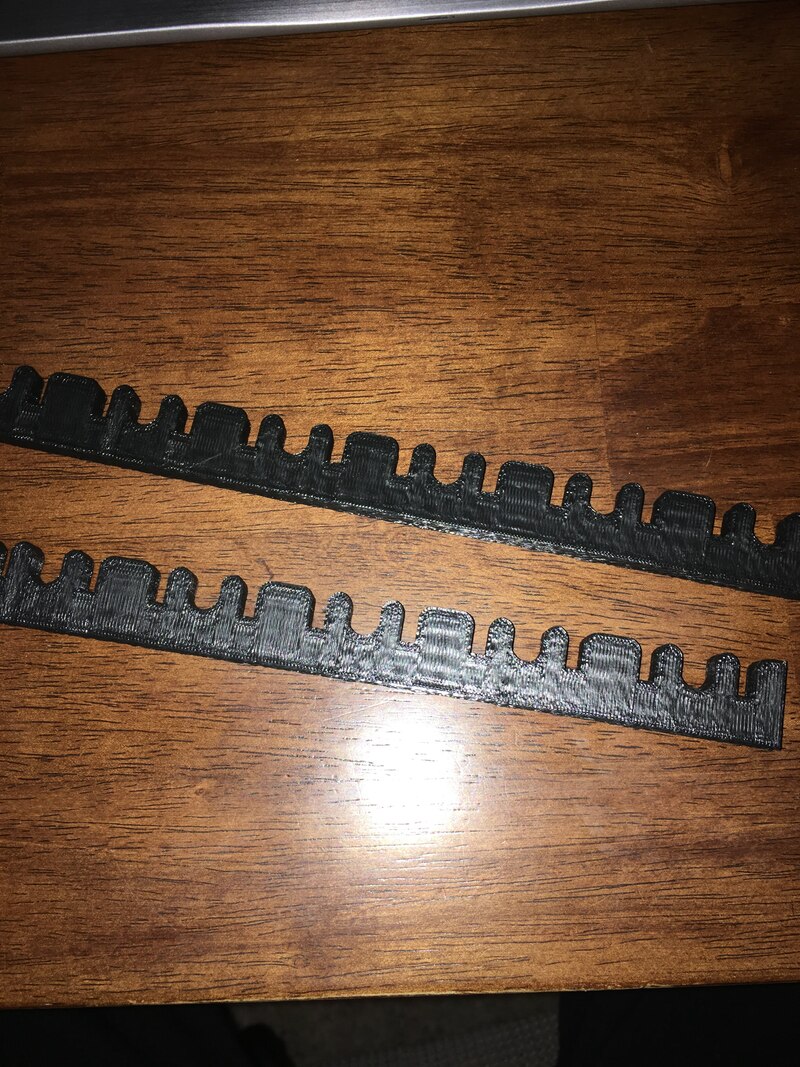
Final TOP ARROW HOLDER
|

Final BOTTOM ARROW HOLDER
|
Other Parts
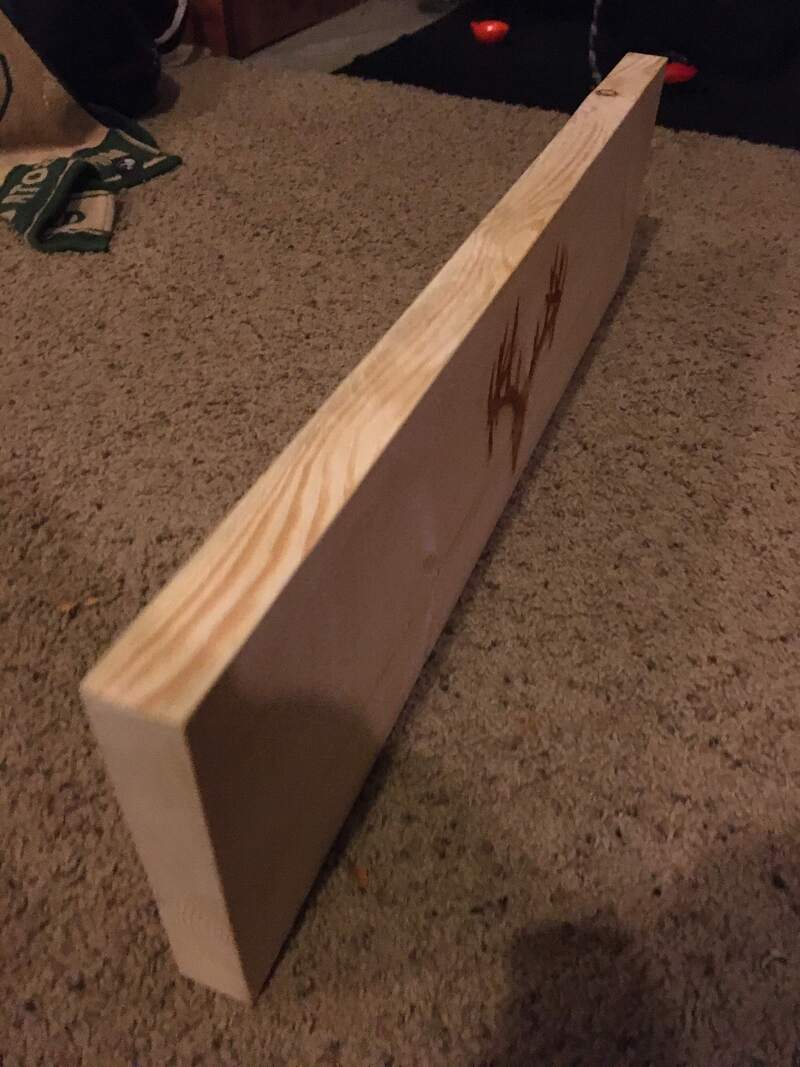
All these parts were created in the woods shop. I used the planner, chop saw, and table saw.
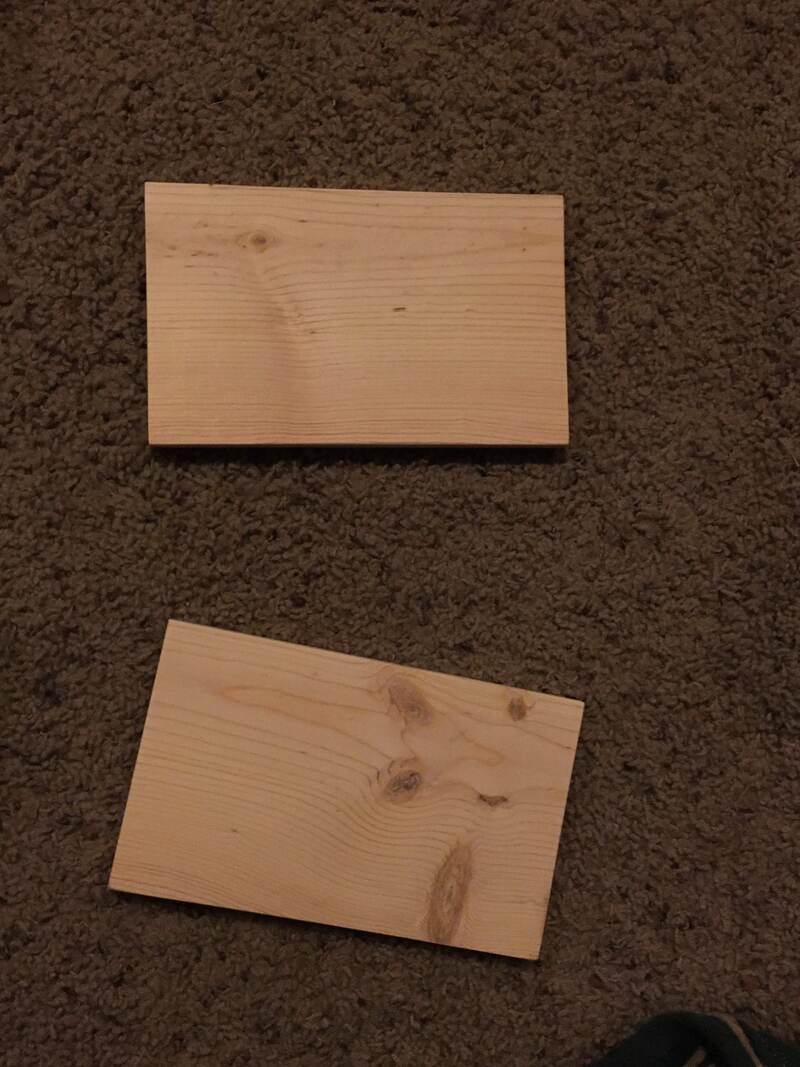
SIDEs
|

FRONT and BACK
|
TOP PLATE
|
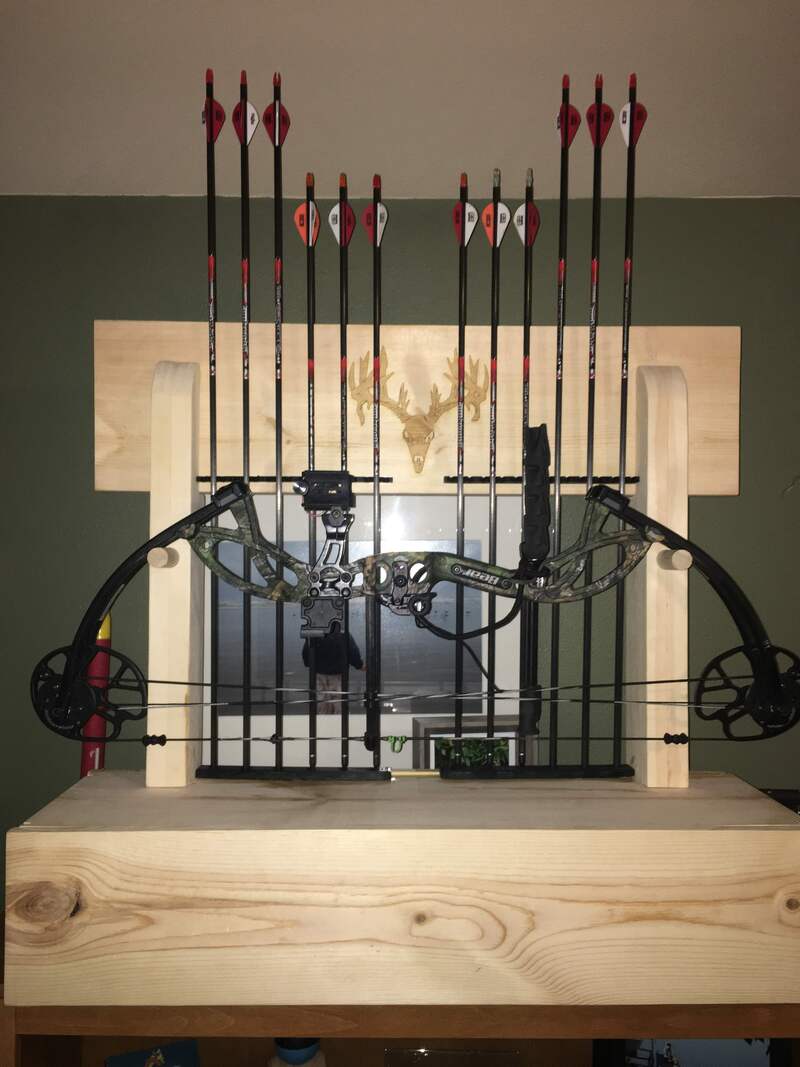
Final Project
|
|
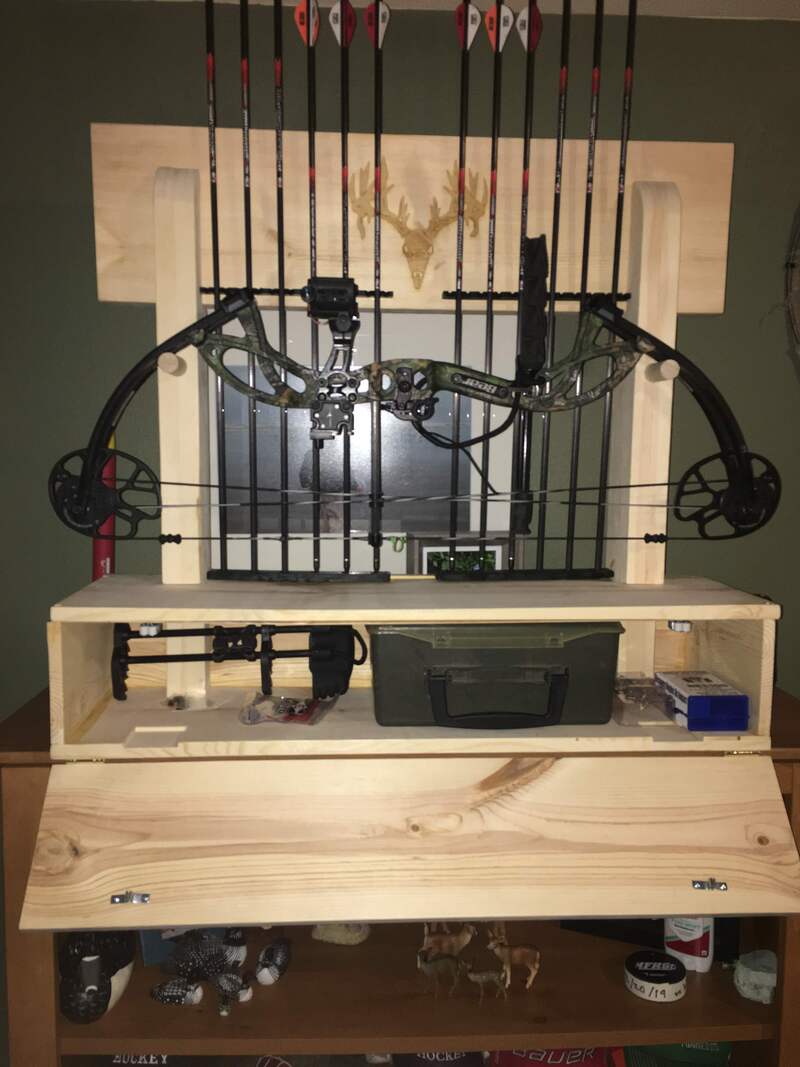
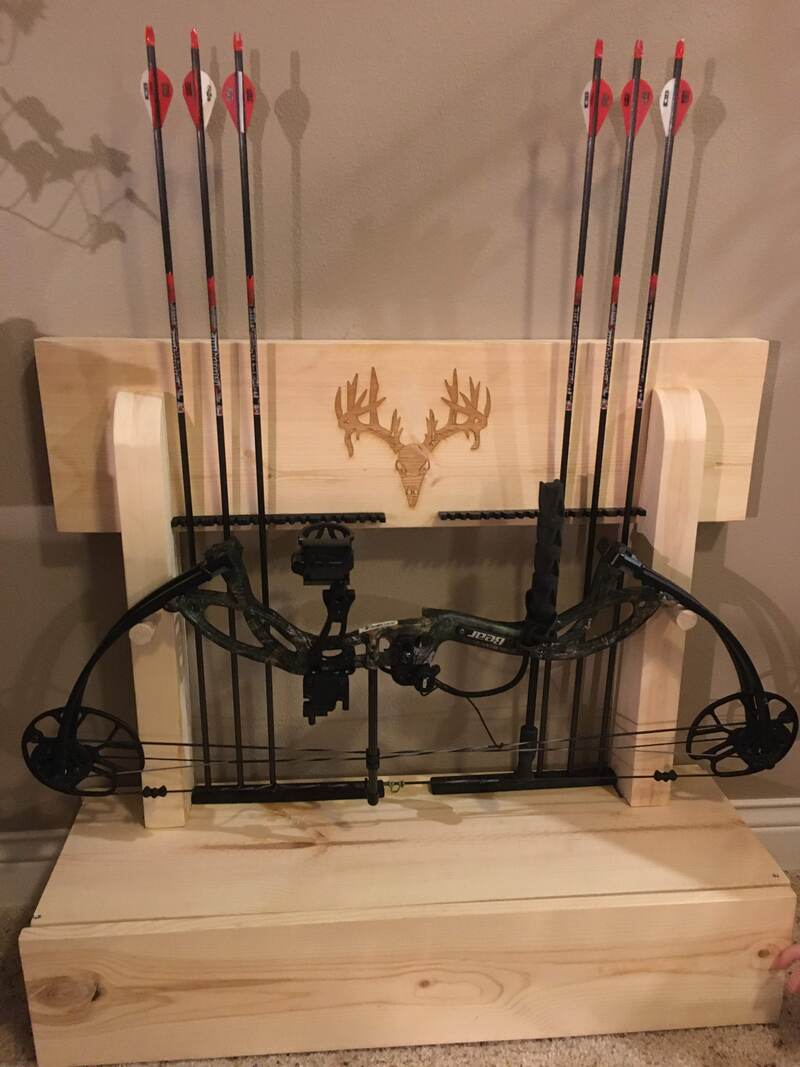
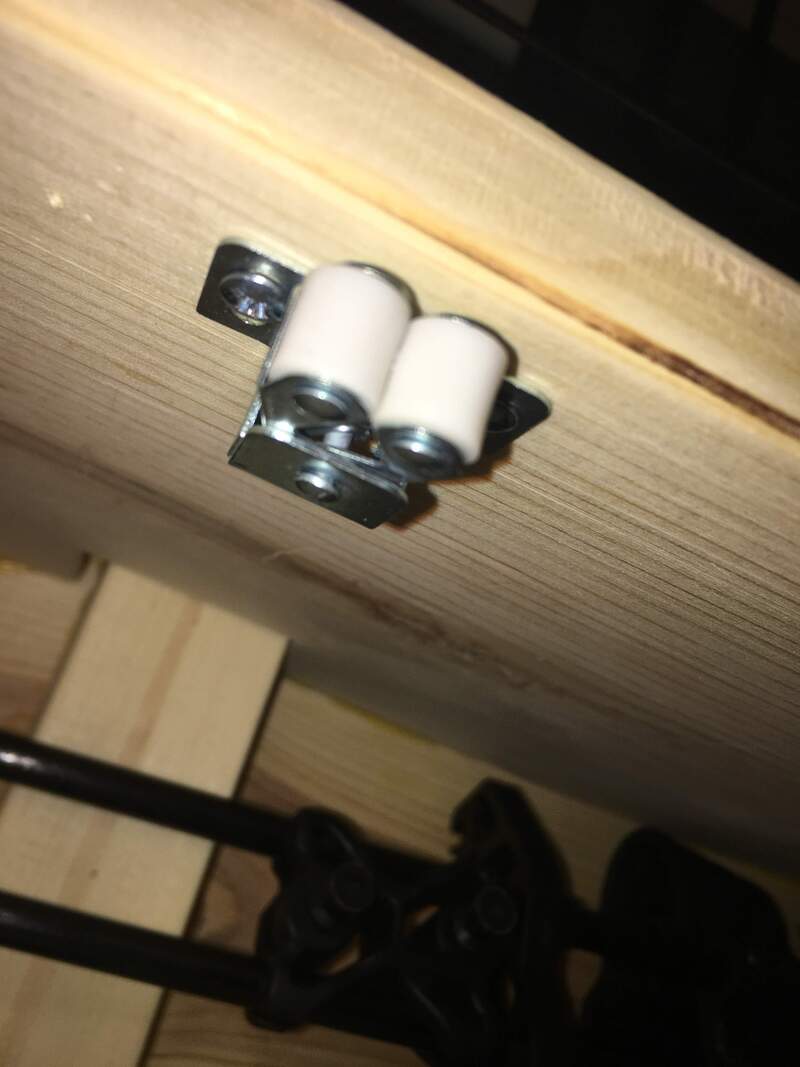
All the parts were assembled using wood glue and 1.25 inch screws. I put the hinges on the bottom of the drawer so the door wouldn't stay shut. I baught a pair of double rollers in order to keep it shut.
Summary
This was by far the best unit we had all year. It was a ton of fun to create, problem solve, and end up with something that I can use. I really enjoyed using a combination of the 3D Printer, Router, Laser, and the machines from the wood shop. Not everything went smoothly so I had to figure things out as I went along. After the bits kept breaking, I had to abandon my treated 4x4 wood and glue together two 1 inch thick pine boards. This ended up being even better because it is actually the same color as the rest of the wood. I am very happy with the final result because it is actually something that will have use in my life.
